Create PDF-Settings
In order to be able to work with the layout template in printformer, the InDesign file must later be packaged and also exported as a PDF.
To be able to create both at the same time, the PDF export settings must be defined in advance and saved as a preset.
This manual shows you how to save PDF export settings in InDesign:
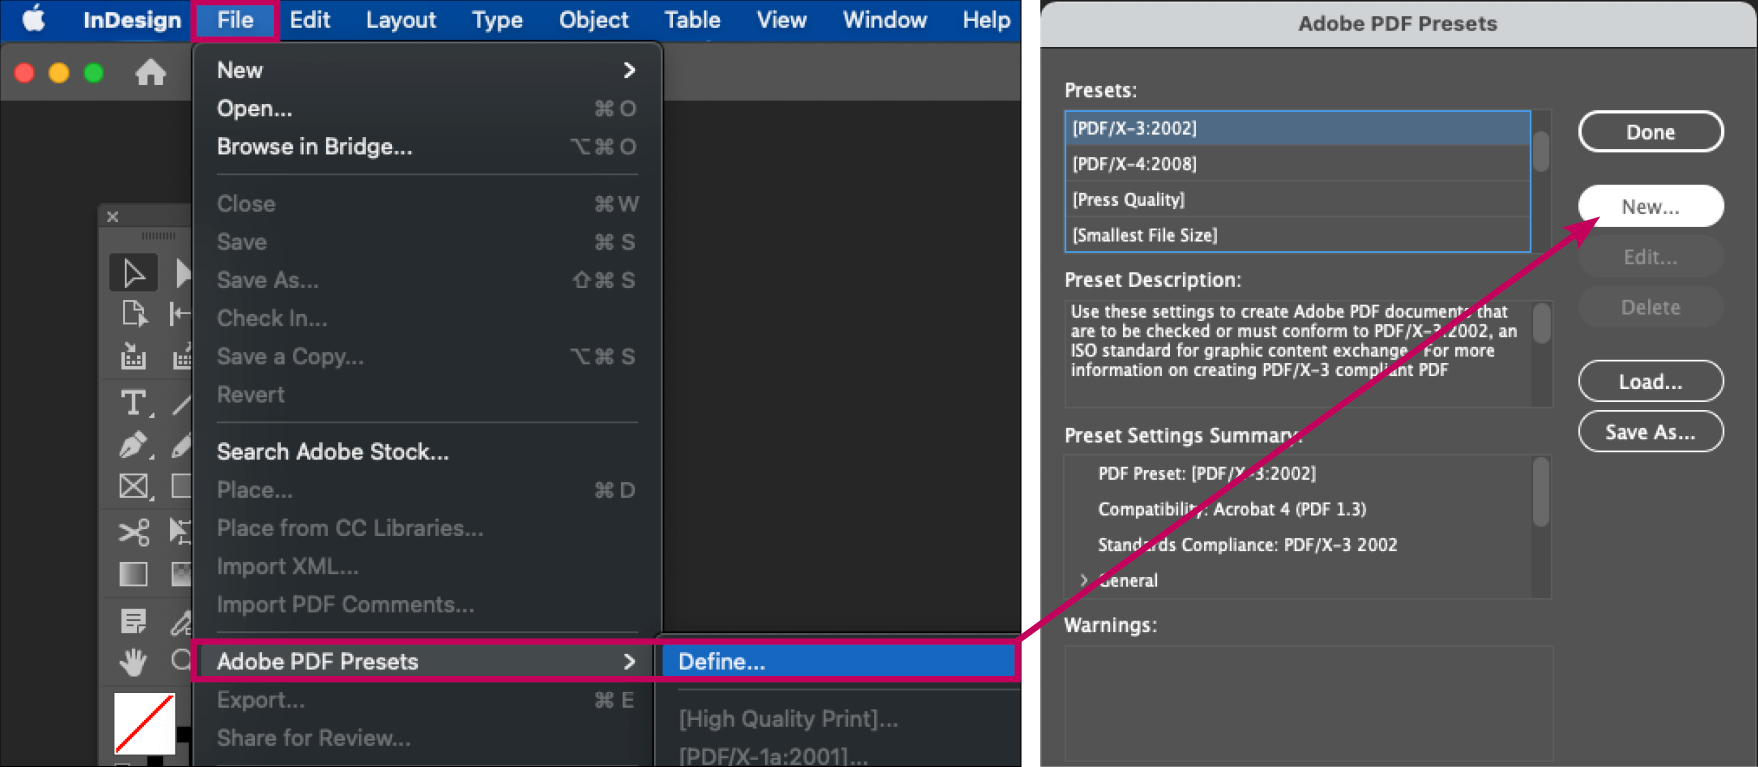
Go to File > Adobe PDF Presets > Define... to open the dialogue box. (All settings already saved are listed here.) Click New... to open the "New PDF Export Preset" dialogue box.
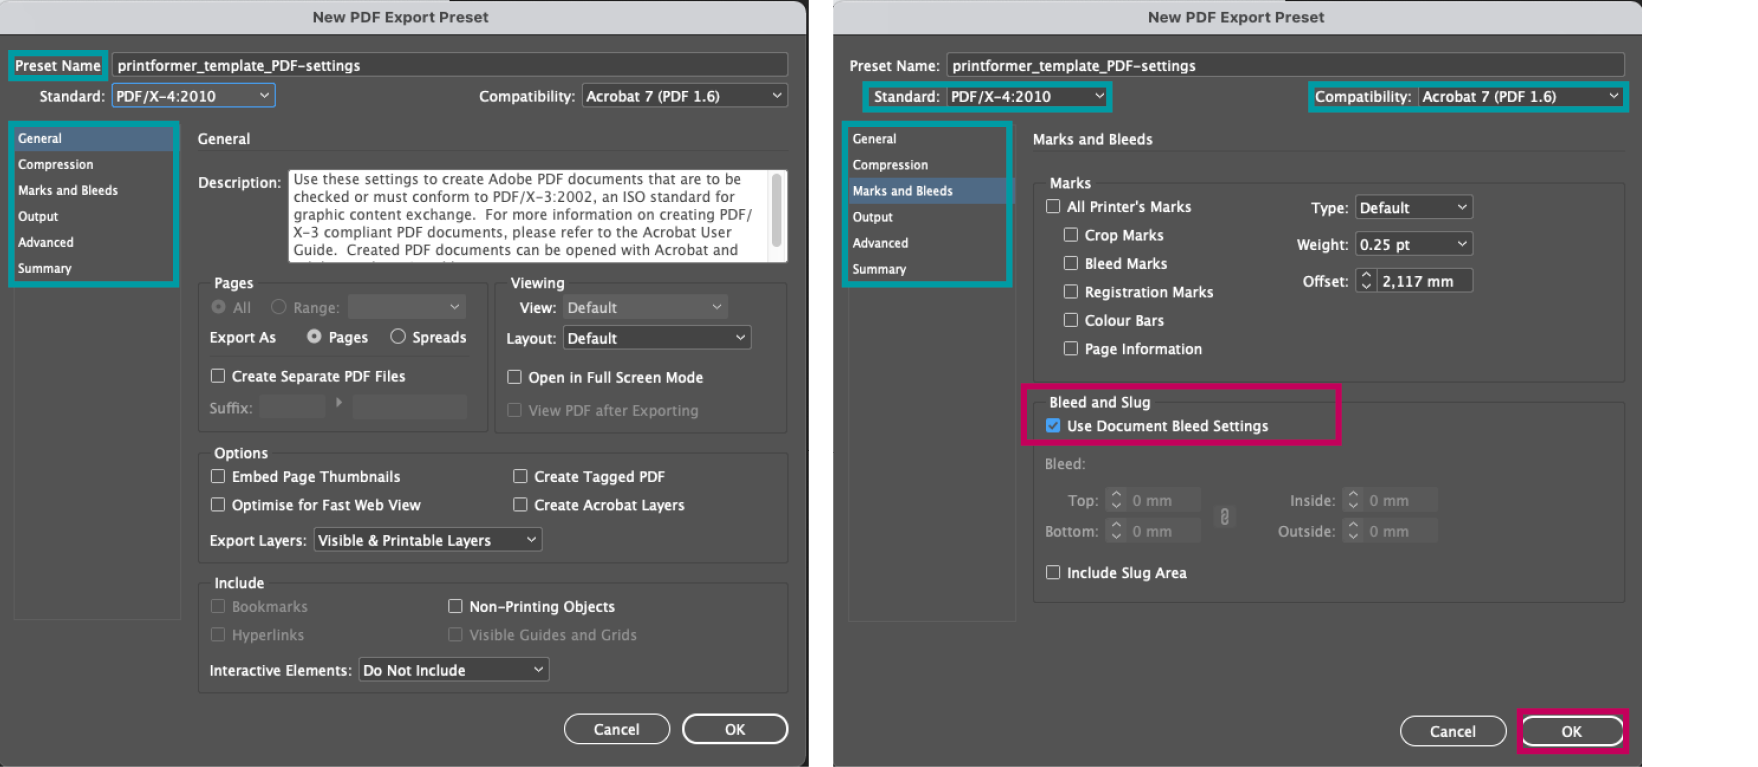
All the required settings can now be specified here. Make sure that you set all the settings correctly you want to attach to your layout and transfer to the printformer. For example, if the bleed settings set up in the document should be taken over, you must activate the corresponding checkbox under Marks and Bleeds > Bleed and Slug. Another important setting is Standard and Compatibility.
After you have finished setting the preferences, give them a unique name and save them by clicking on the OK button.
The marks section (crop marks, registration marks, page information etc.) from the InDesign export settings cannot be used for print PDFs from templates.
If crop marks are absolutely necessary for the print file, an avail template can be created for this purpose, see instructions.
The PDF setting created for the template also defines the preference for the print data generated later. Therefore, it should also be ensured all Output Settings (Colour Conversion etc.) as well as the Colour Settings in InDesign are set up according to the print specifications.
Note: The settings used in the screenshots are not general specifications but rather indications of which areas are important. In order to generate a correct print file later, you must select the specifications given by the printer here.