Edit template and create print data
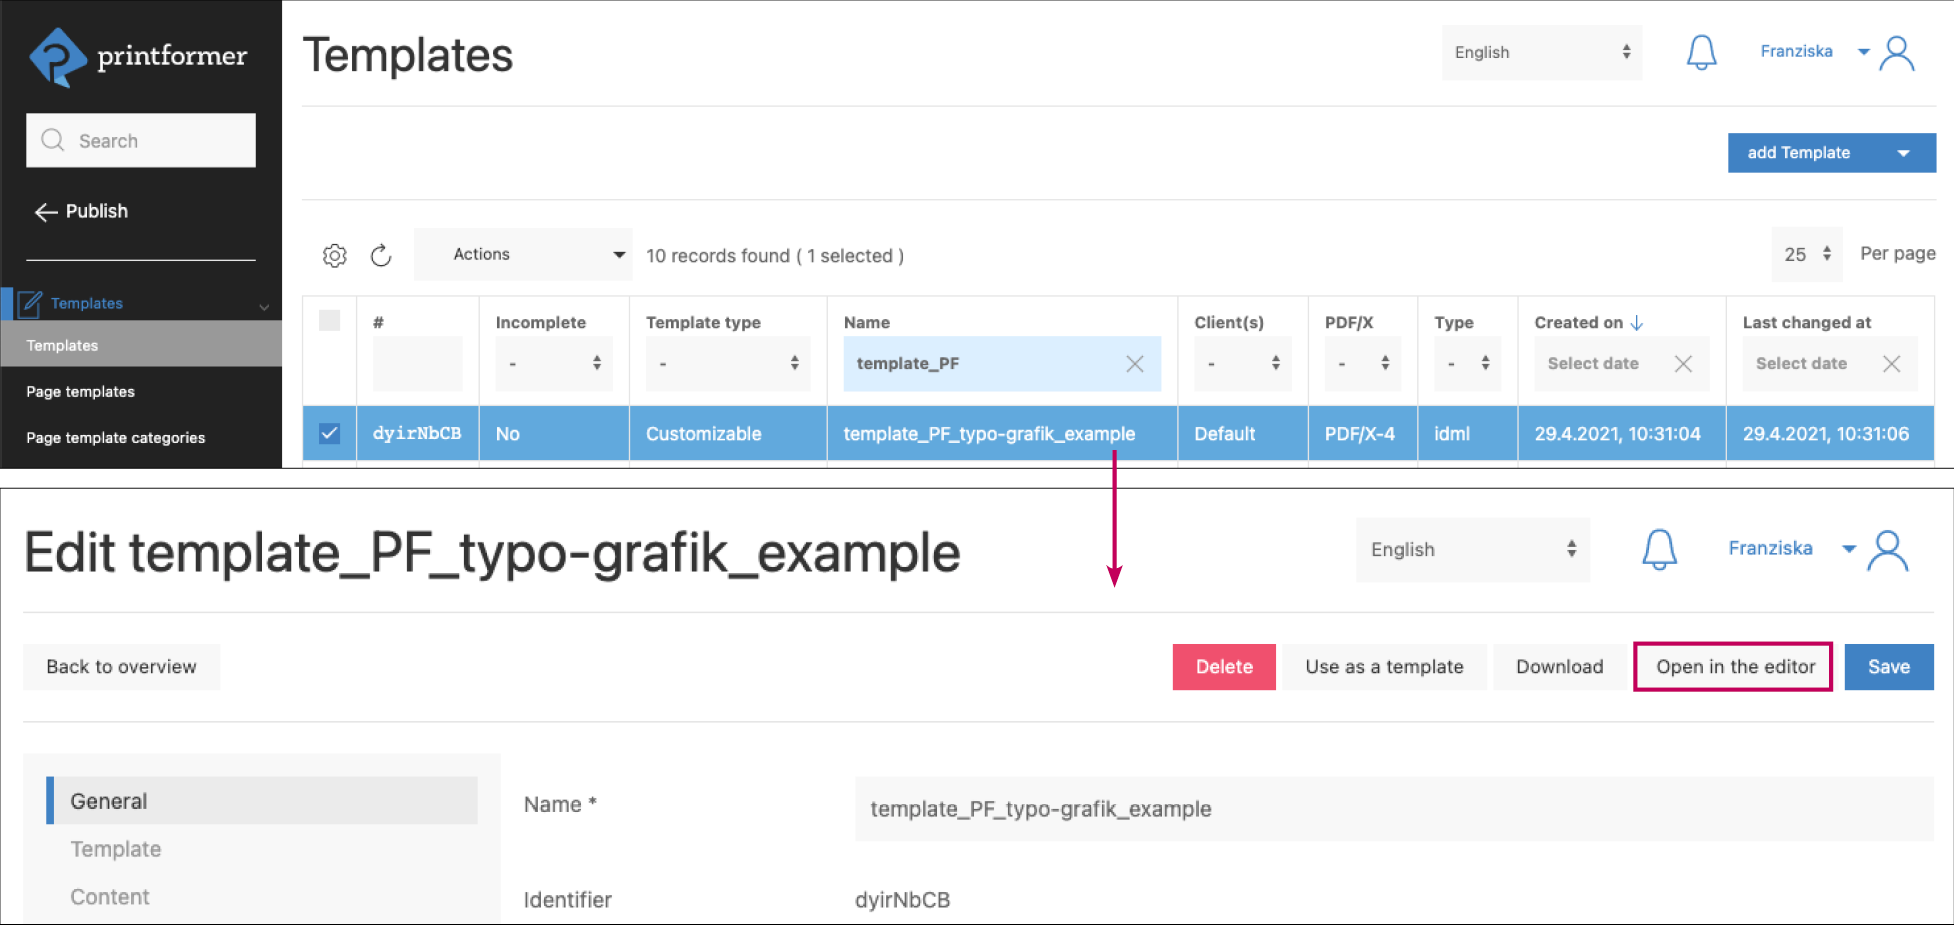
The template administration contains all uploaded templates; click to open the configuration menu.

Select »Open in Editor«, the pop-up window that appears can be confirmed without further ado (the functions displayed here are intended for special templates). Now the layout you originally created in InDesign appears in the printformer editor.
If the Testdraft checkbox is activated, the print file generated from this draft will not be charged. However, the corresponding print PDF is locked – unlike print data generated regularly from the production form. (20 Testdrafts are available per month.)
Editing a template in the printformer editor
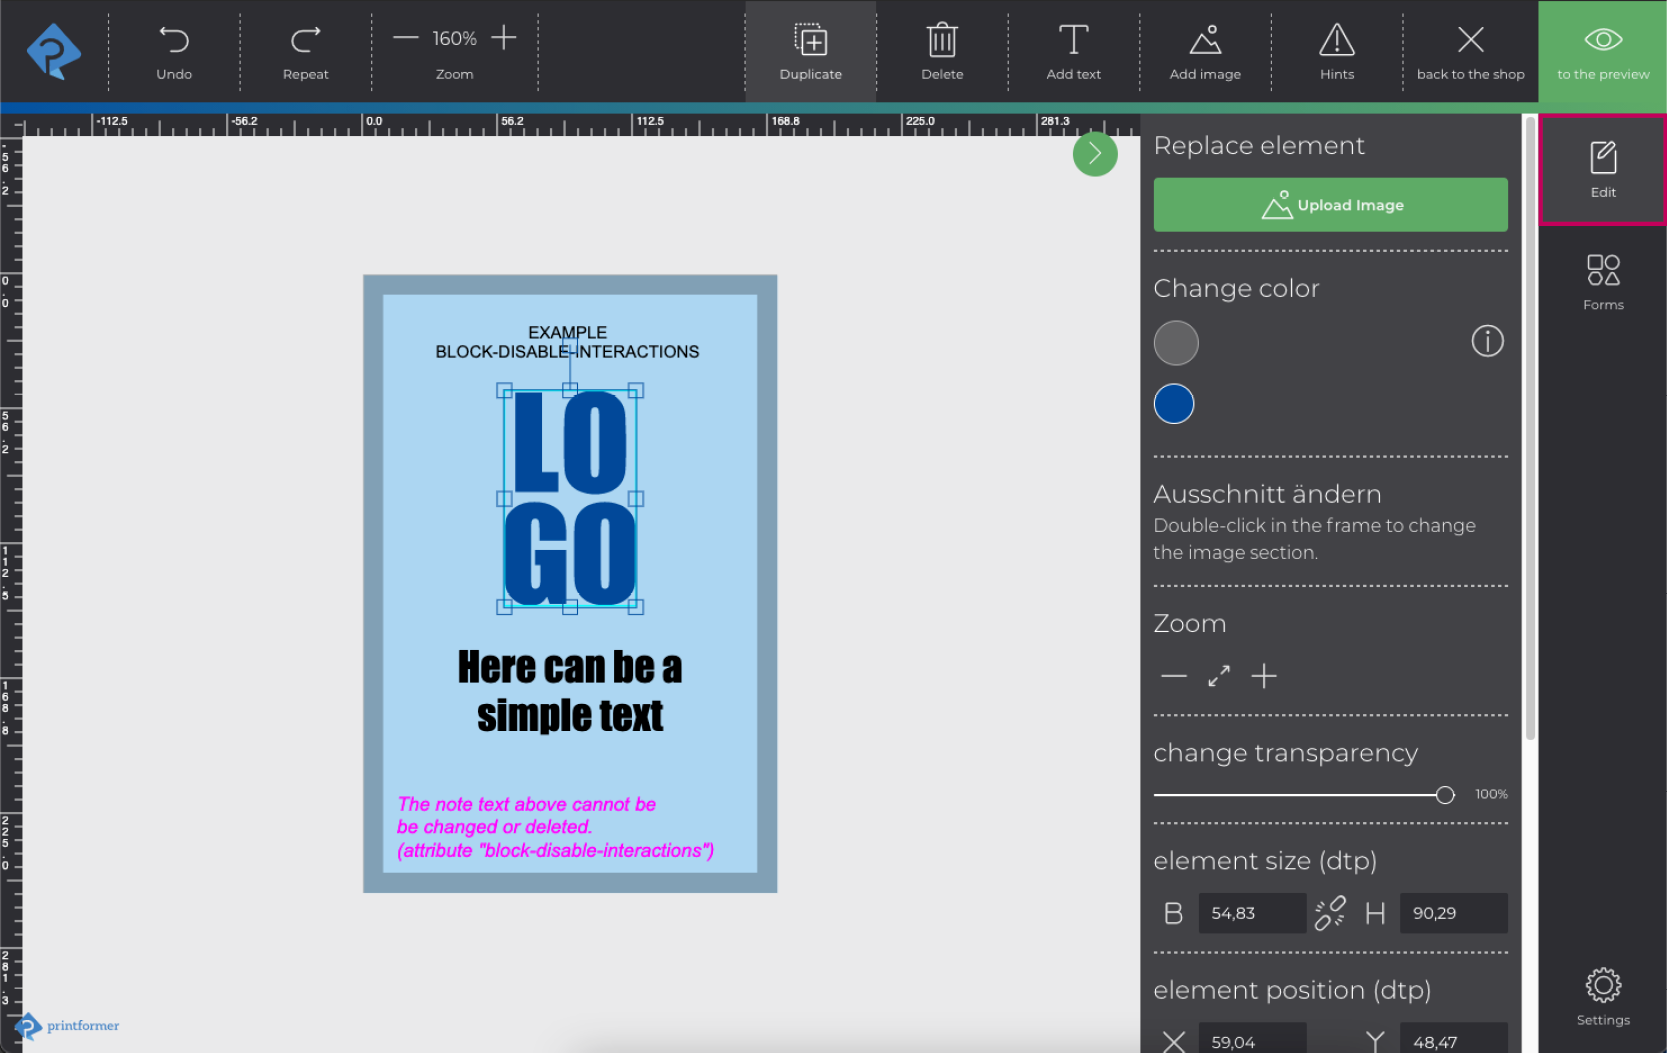
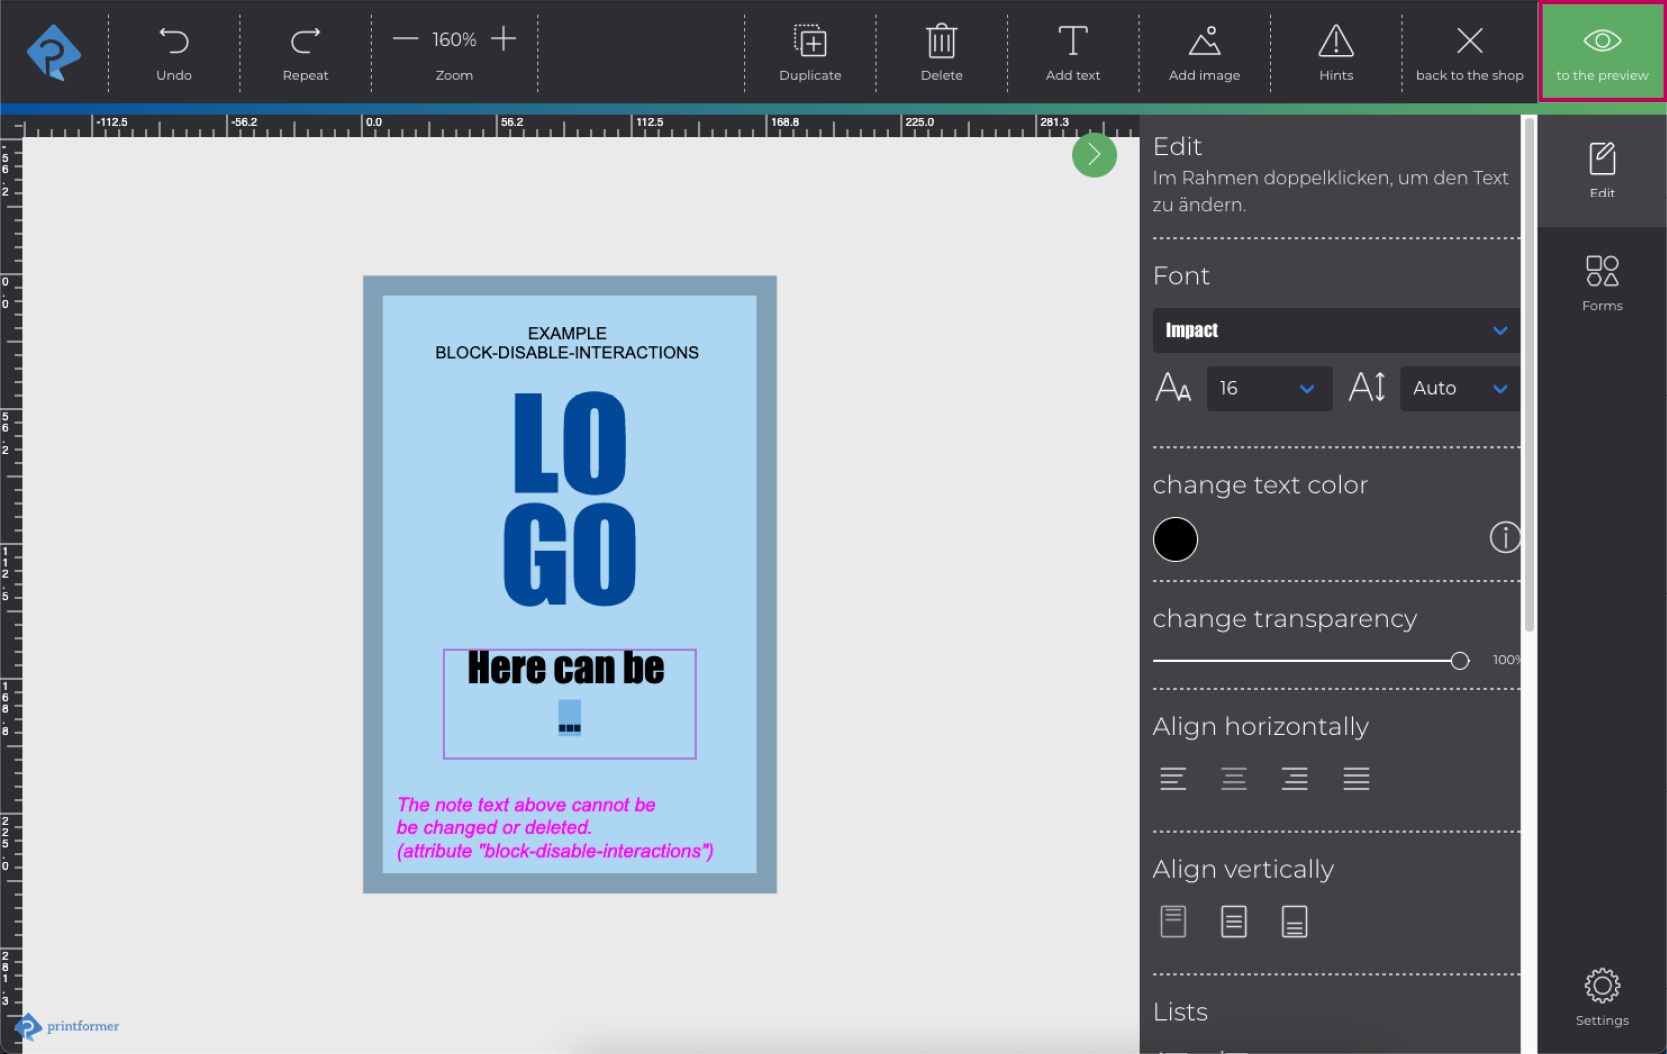
The individual elements (graphics and text in our example) can be edited by clicking. (A click selects the graphic frame and a double click the content.) The corresponding menu appears on the right. The placeholder for graphics/images can be replaced by another file. The image section/zoom as well as the transparency can be changed and the element repositioned or rotated. (Transparency is not possible with SVG files.) If there are several elements, the arrangement (in the foreground/background) can be adjusted by Layer. These editing options are also available for texts. In addition, the font type/size can be changed and text can be entered.
The waste bin button in the top menu is used to delete individual blocks, alternatively the Del or Backspace key.
The editing options of the printformer editor can be restricted in InDesign by creating attributes, and also in printformer directly.

Select several blocks together
Using the selection frame (hold down the mouse button and drag diagonally to the right), several blocks can be activated together in the editor. Alternatively, several blocks can also be selected and deselected by keeping the Shift key pressed.
The selected blocks can then be deleted, moved, rotate and aligned together. (The alignment takes place depending on the selection in the sidebar, on the newly created box of the selection, or on the entire page). The color and transparency of shapes and text blocks can also be changed together. In addition, the font and formatting as well as the alignment in the text frame can be adjusted together for texts.
If different settings are defined in the selected blocks, only the controls that are available for all blocks are displayed.
In containers and if containers are available on the page, multiple selection is not possible.
The undo function only works to a limited extent for actions with several blocks at the same time
Create preview and print data
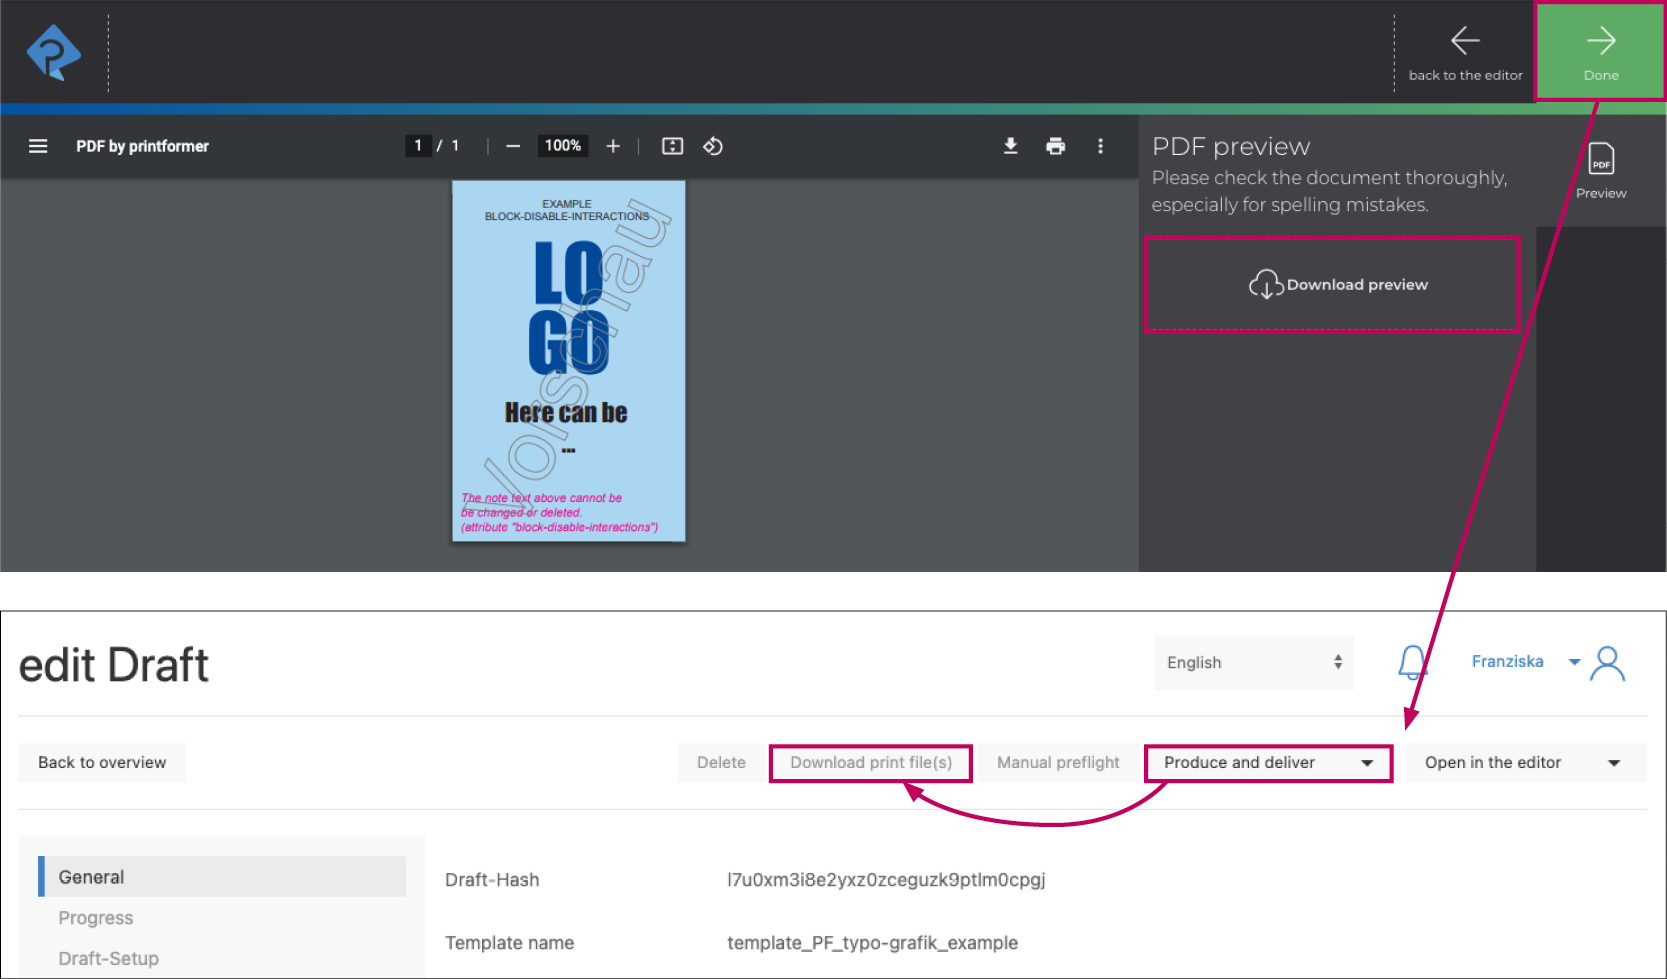
Once you have finished editing, you can generate a preview of your draft by clicking on "to the preview" in the upper right-hand menu area. You can also download this preview as a PDF to make the checking more comfortable.

If all the data is correct, click on »Done« to switch to the detailed view of your draft. If you now want to generate print data from the draft, click on »Produce and deliver«. As soon as the process is complete, the button »Download print file(s)« becomes active and you can download the print data. (This completes the draft and it can't be changed and opened any more).

Screenvideo
Here you can see if a template can be opened and edited in the editor.
In addition to the upload button, images can be inserted directly into the editor using drag & drop.
