3D / X3D
Instructions: Editing an OBJ file in Blender and exporting as X3D
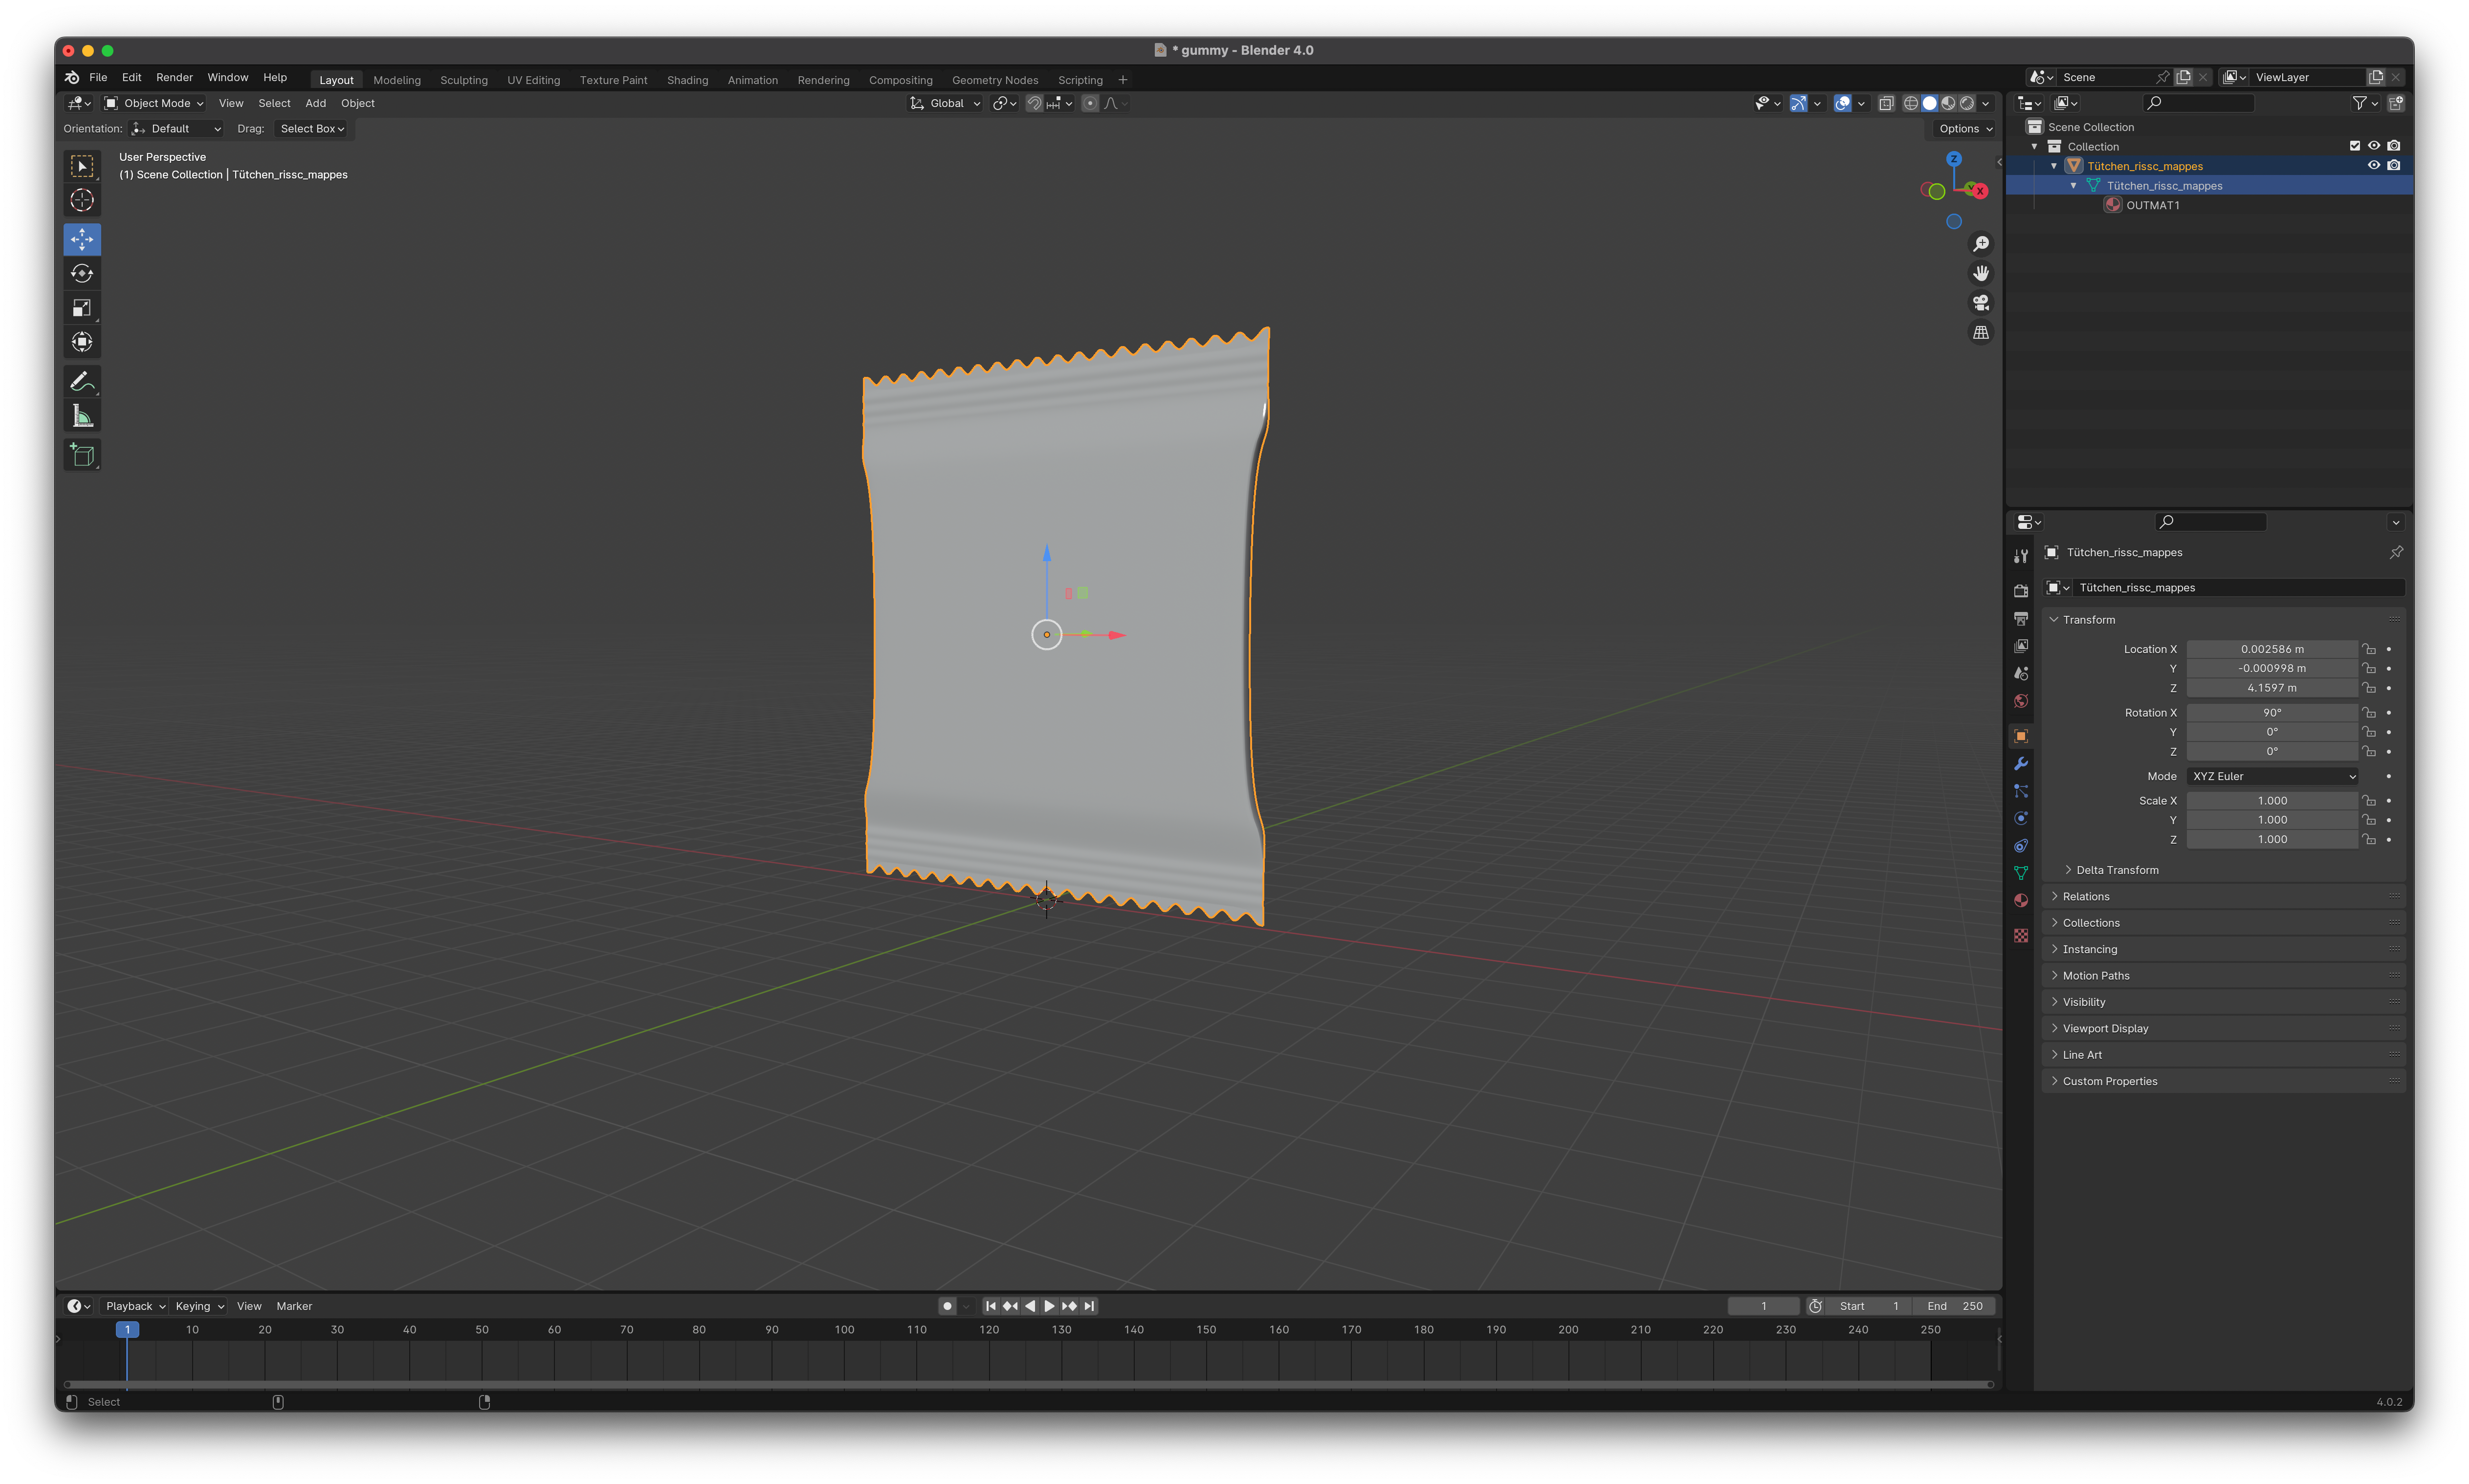
Step 1: Open the OBJ file in Blender
Start Blender and click on File > Import > Wavefront (.obj). Navigate to your OBJ file and click on Import.
Step 2: Add an image as material
Select the 3D model and switch to the
Materialstab.Add a new material.
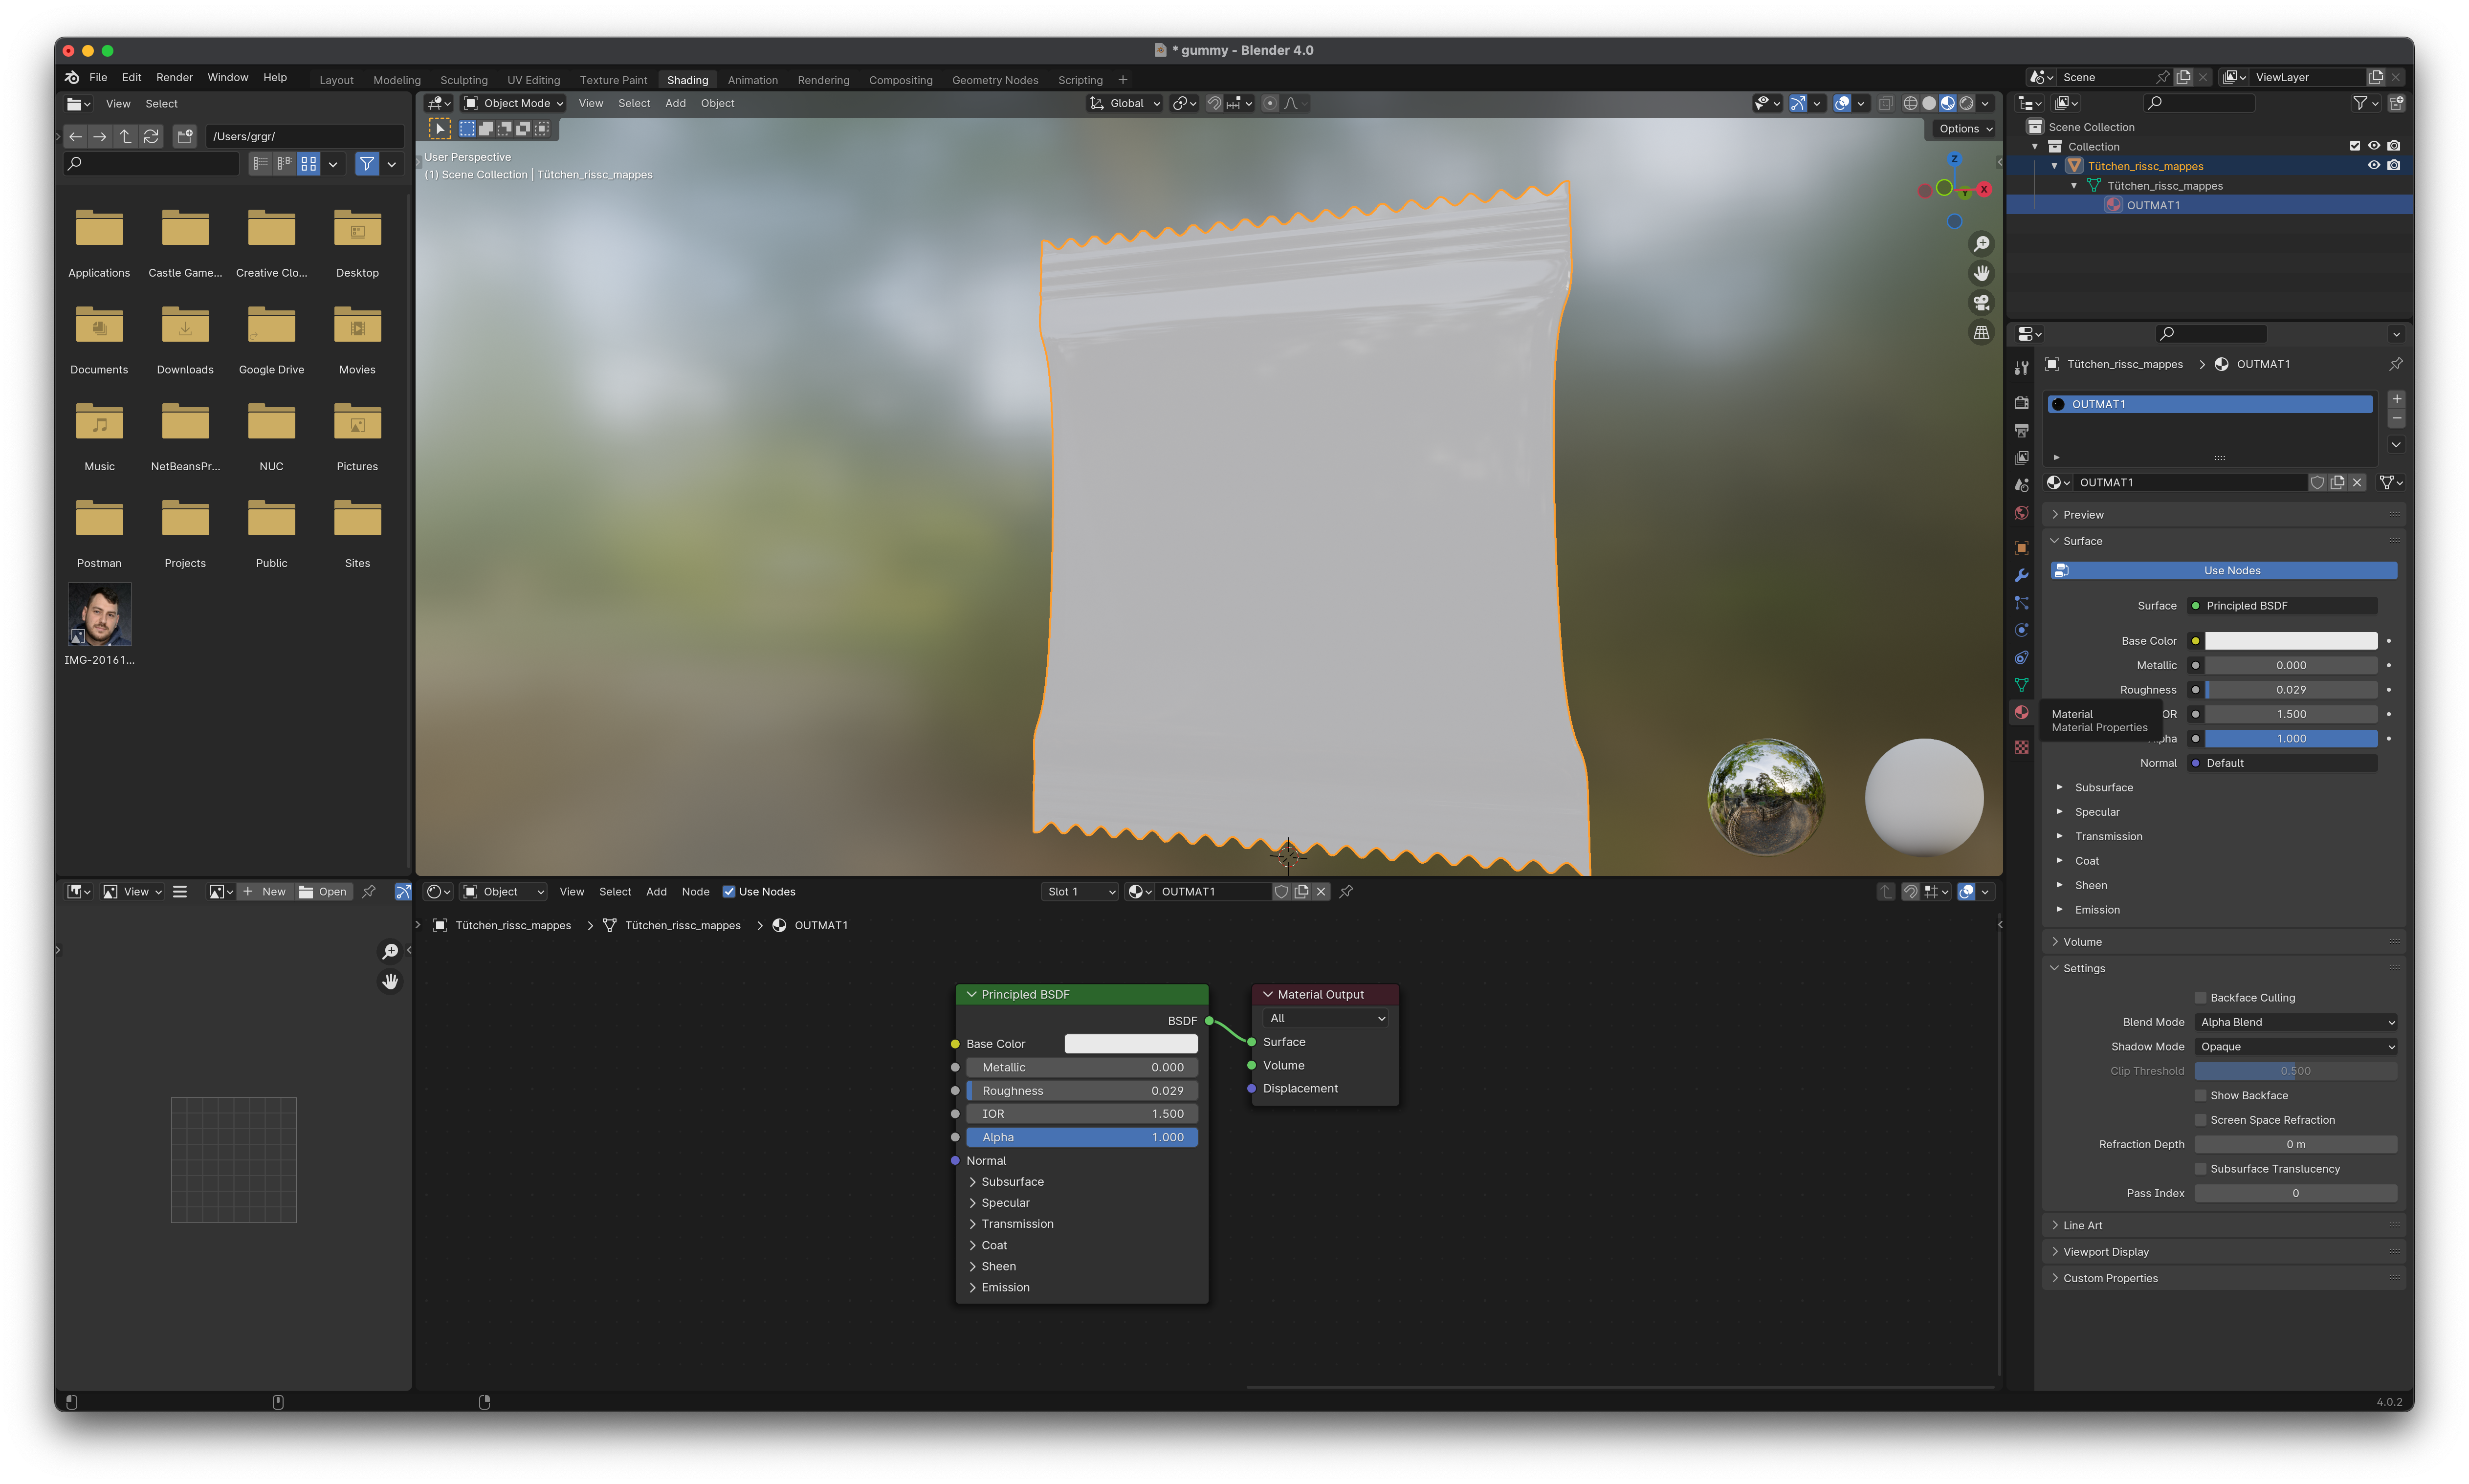
Drag and drop an image into the lower dark area and link
Base ColorwithColor. To create a precise mapping, the added image should have the aspect ratio (same dimensions) of the printformer template.
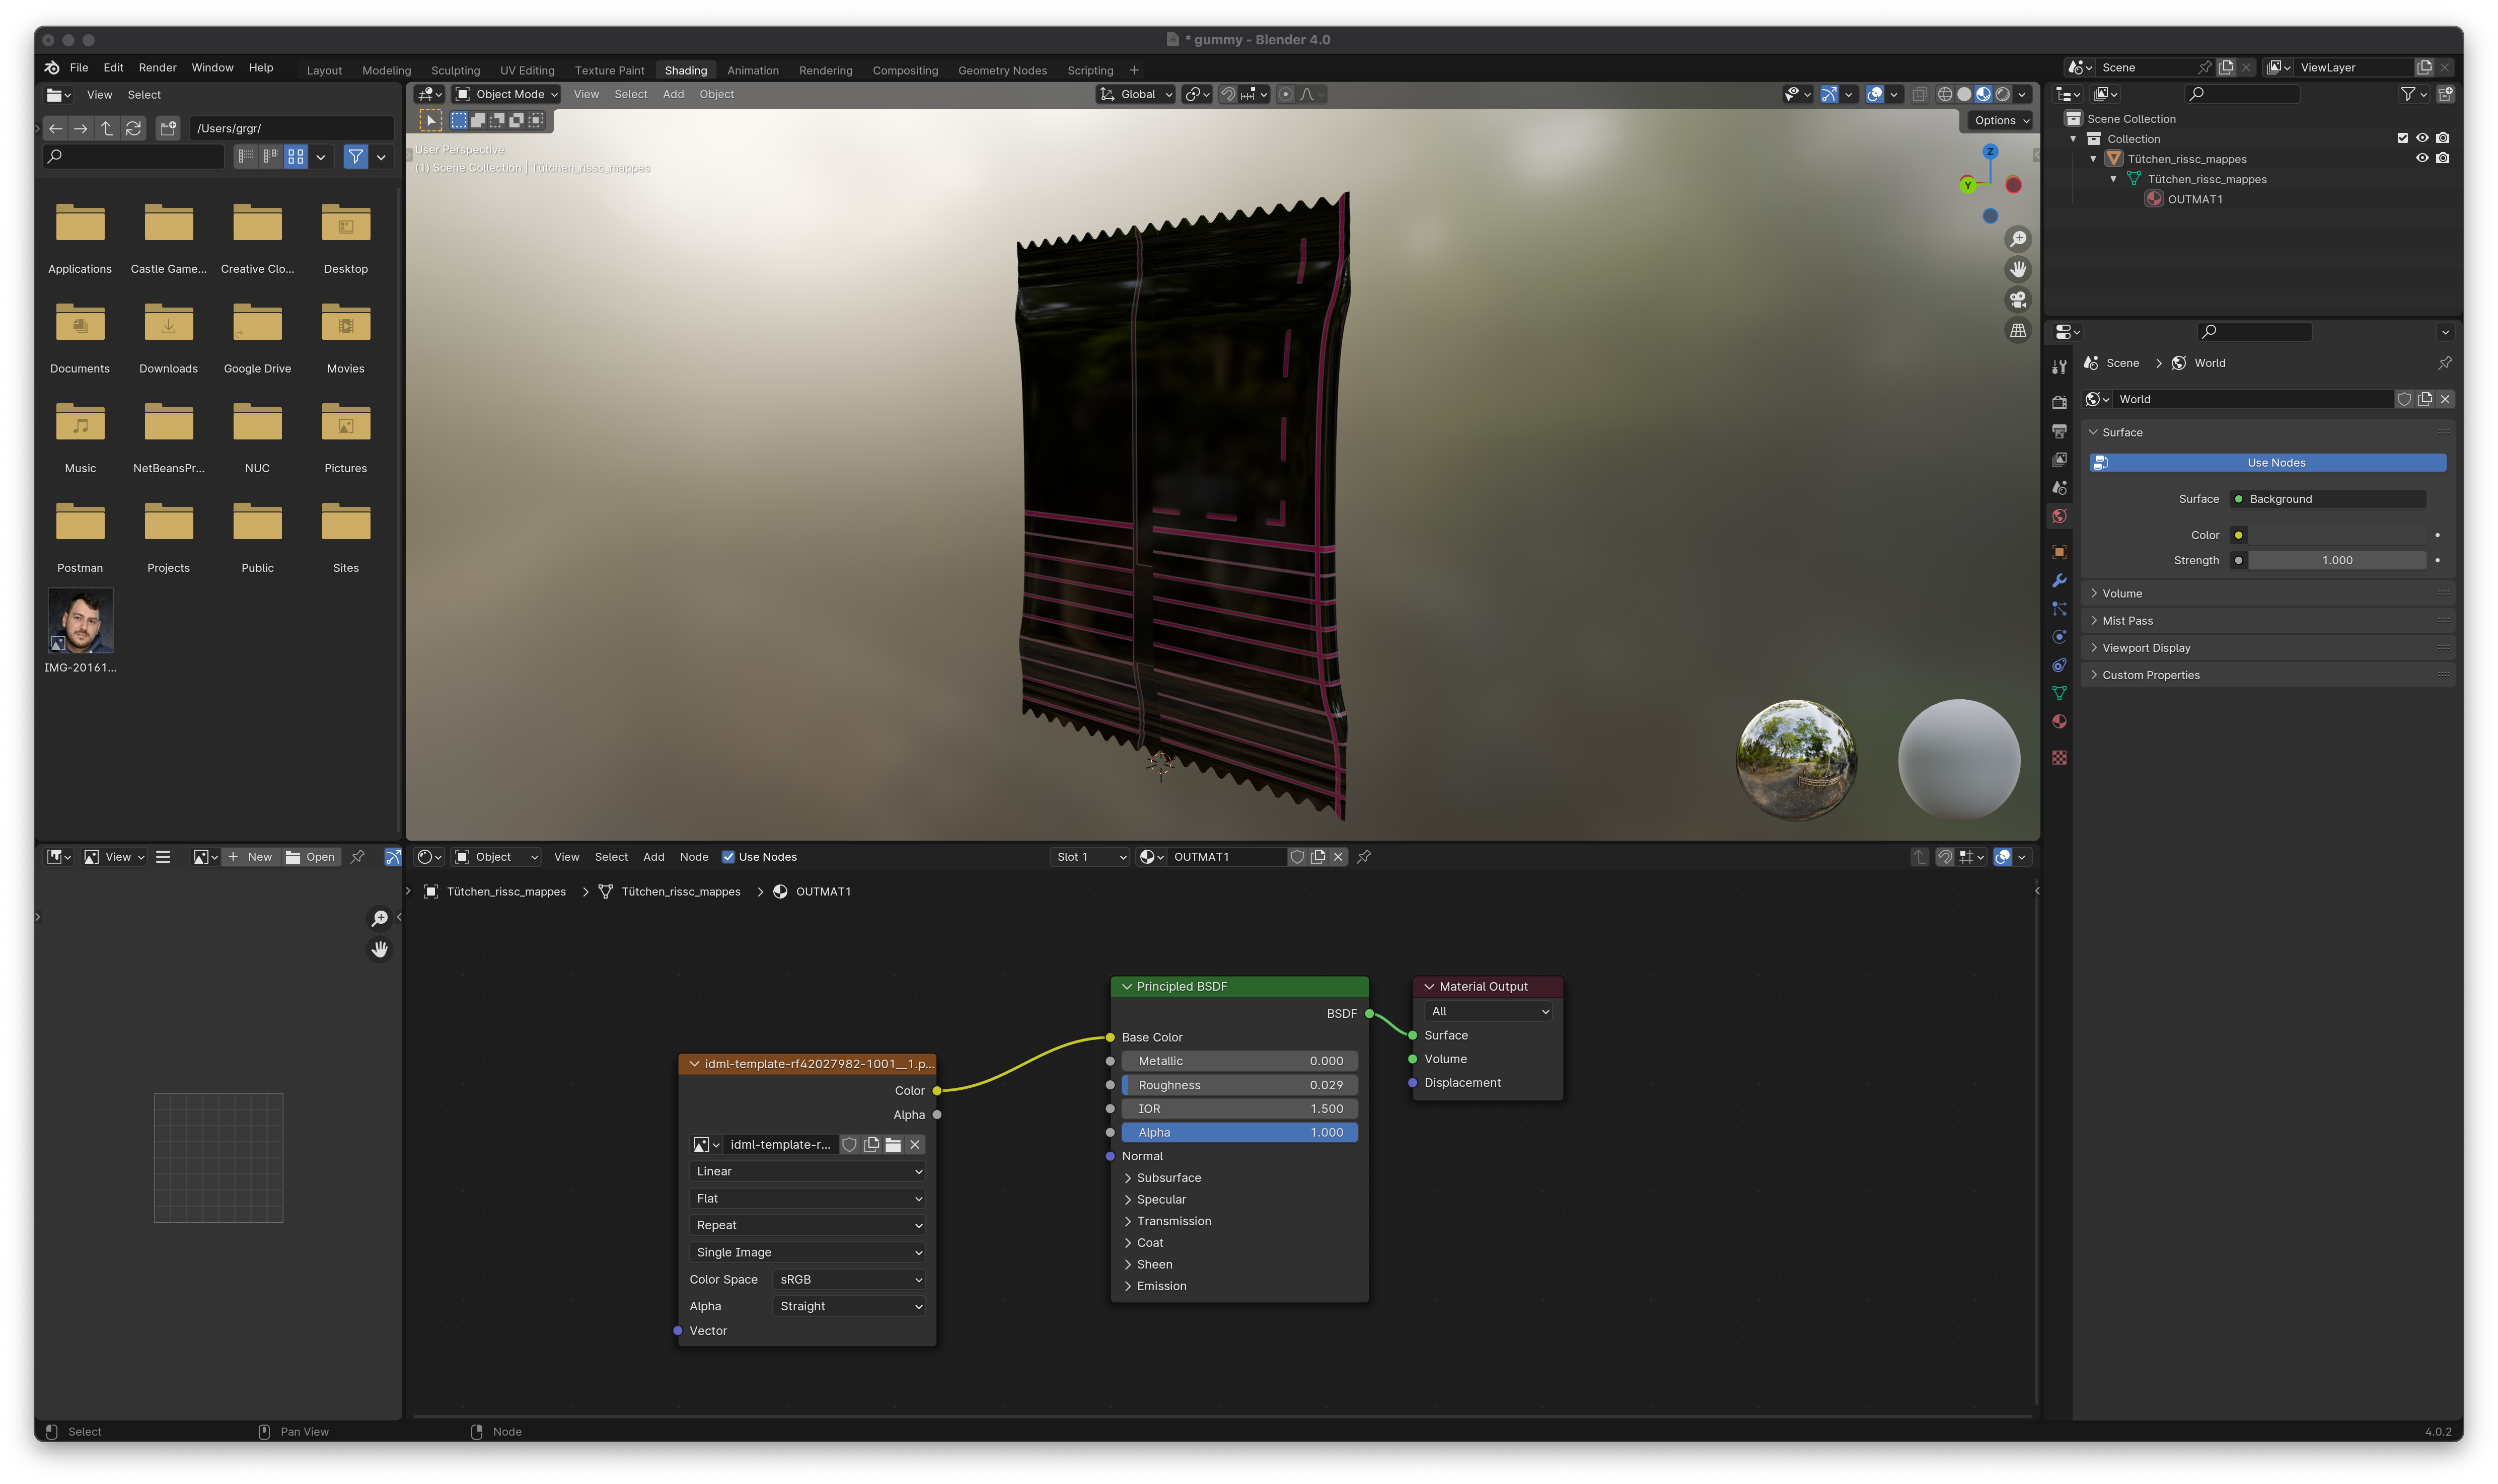
Now the image is part of the texture. To create a precise mapping, the added image should have the aspect ratio of the printformer template. However, the image is not yet positioned correctly. This will be done in the next step.
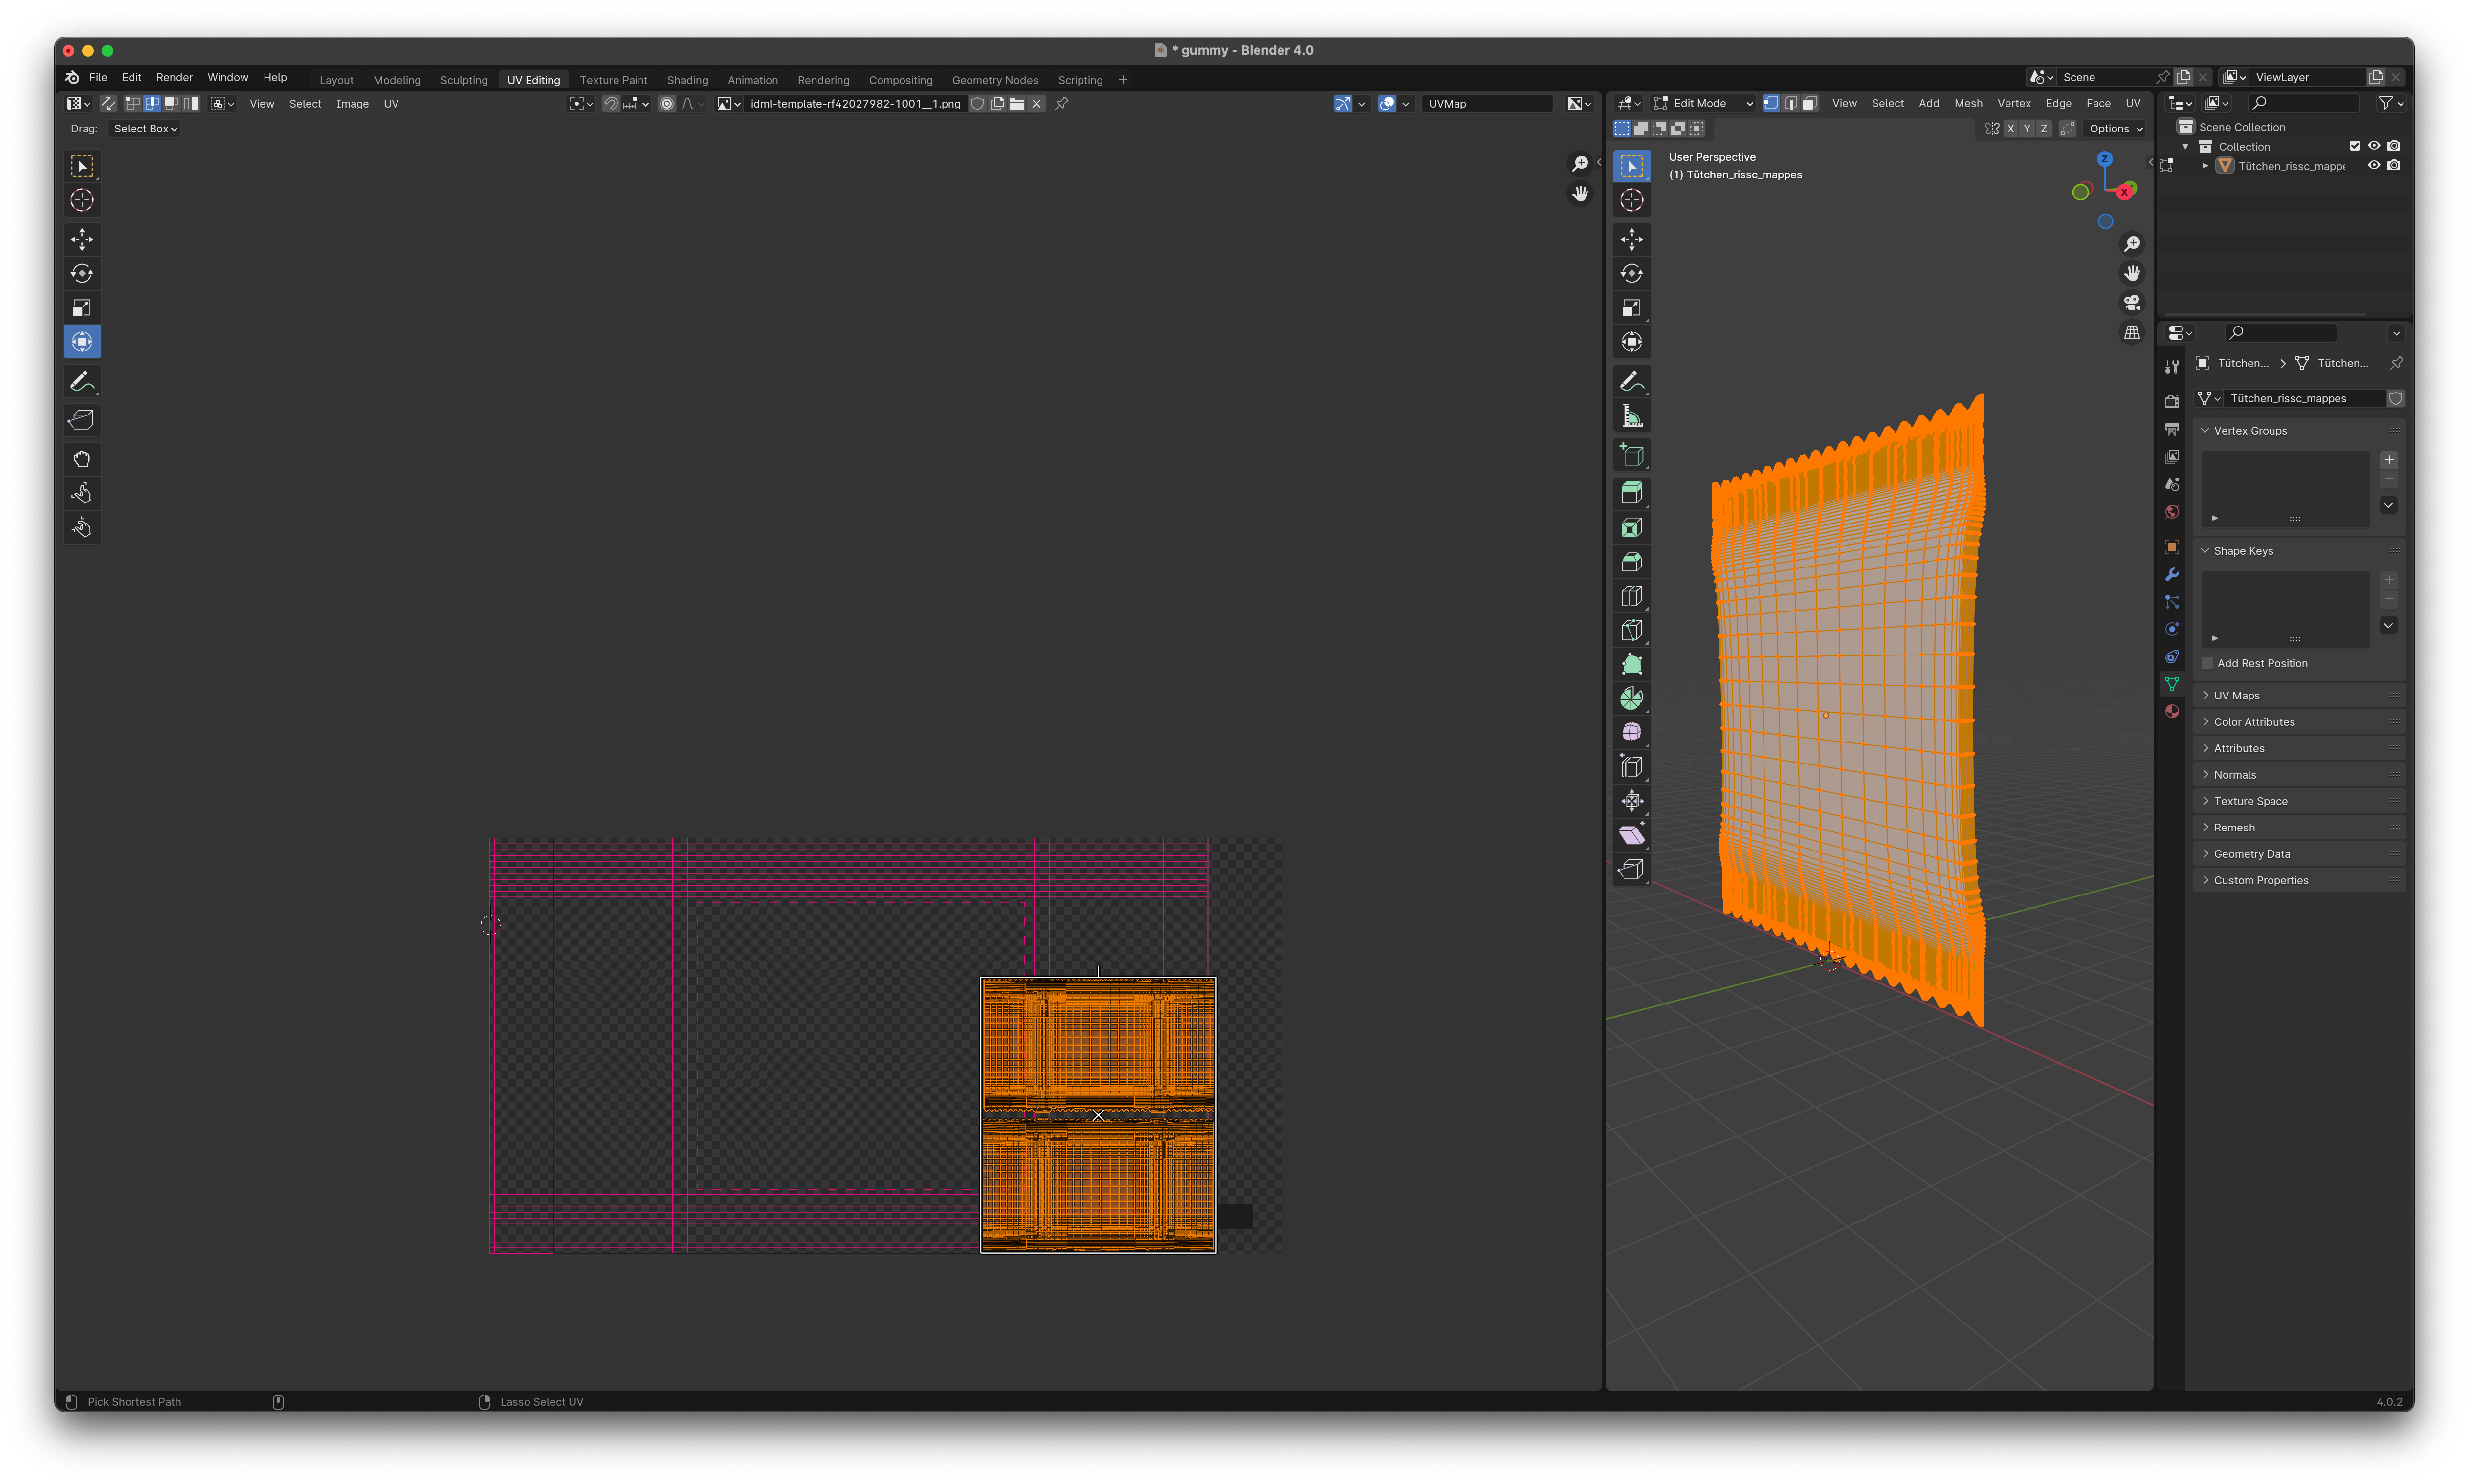
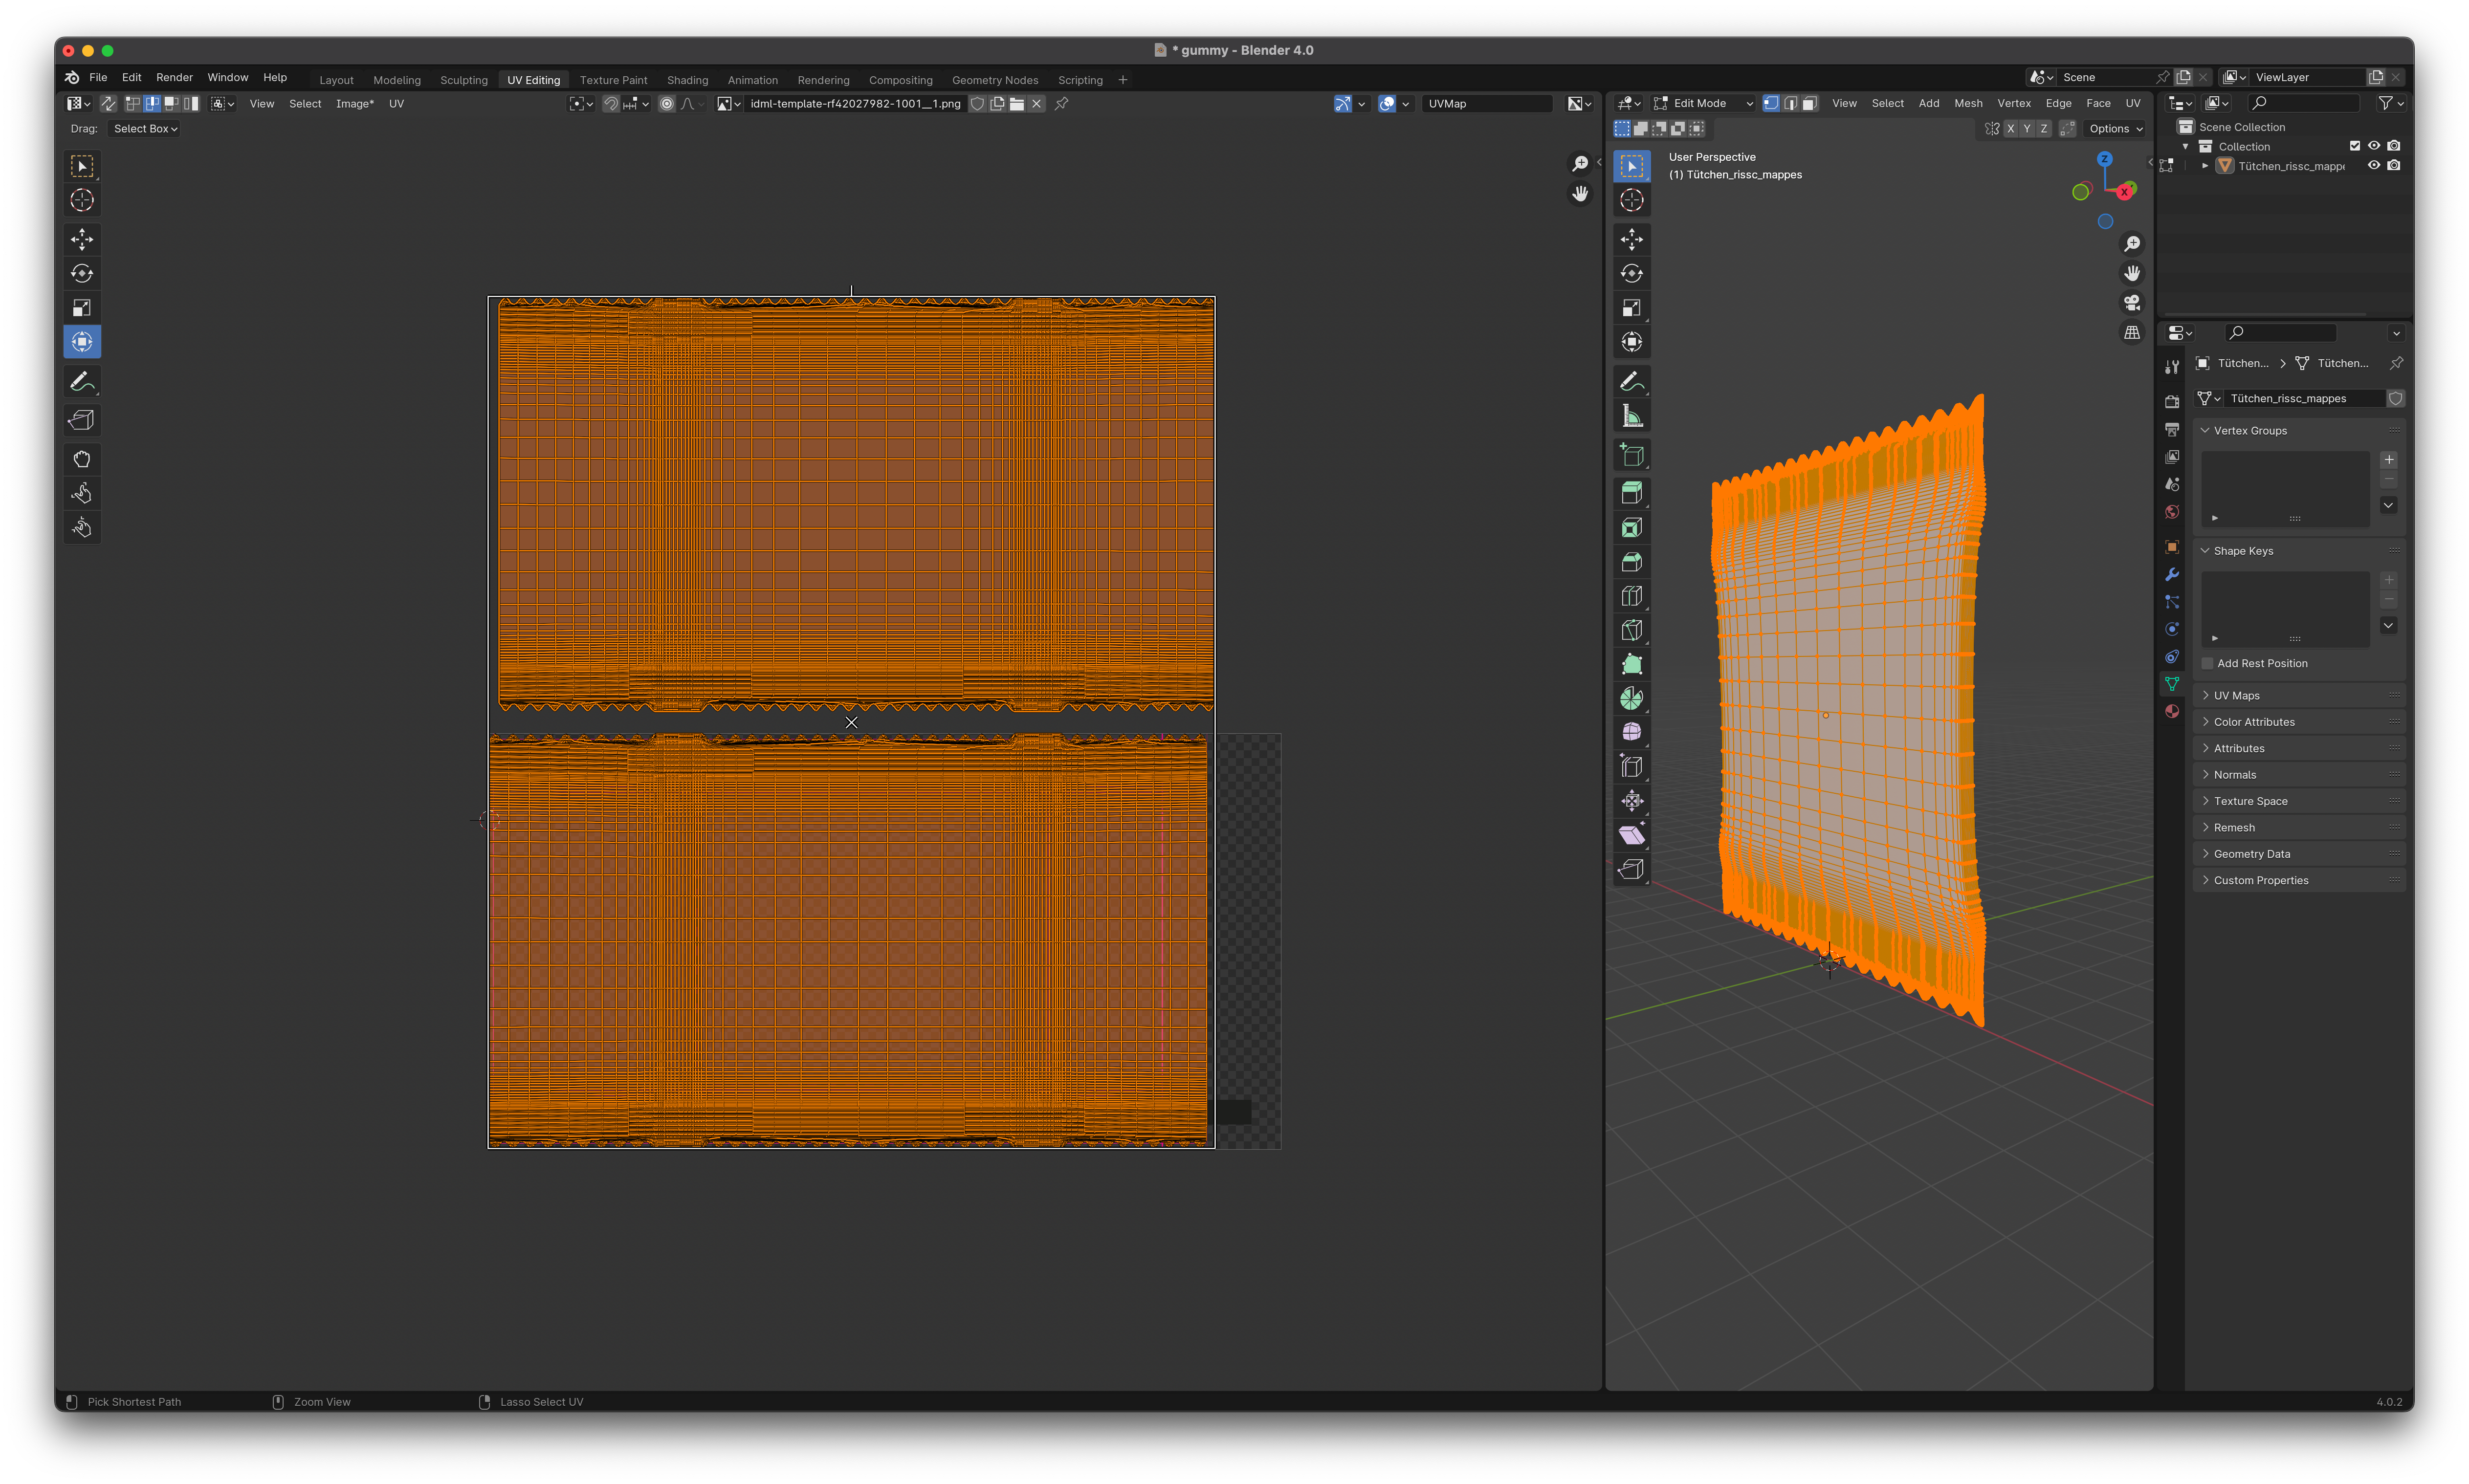
Step 3: Mapping the image with the 3D file in UV editing
Switch to
UV-Editingmode.Select all vertices of your 3D model (
Abutton).Click on
UV > Unpackto create the UV layout.Customise the UV layout to connect it to your image.
Step 4: Export the model as X3D
When you are happy with the result, click on
File > Export > X3D (.x3d).Select the storage location and click on
Export.
Step 5: Open the X3D file with NPX Sunrize
Blender is currently unable to export a correct Viewpoint. Other 3D applications may not have this problem. Therefore, this step may not even be necessary.
Install Sunrize according to the instructions: https://create3000.github.io/sunrize/
Open the console and navigate to the location of your X3D file.
Enter
npx sunrize $fileNameto start the programme.
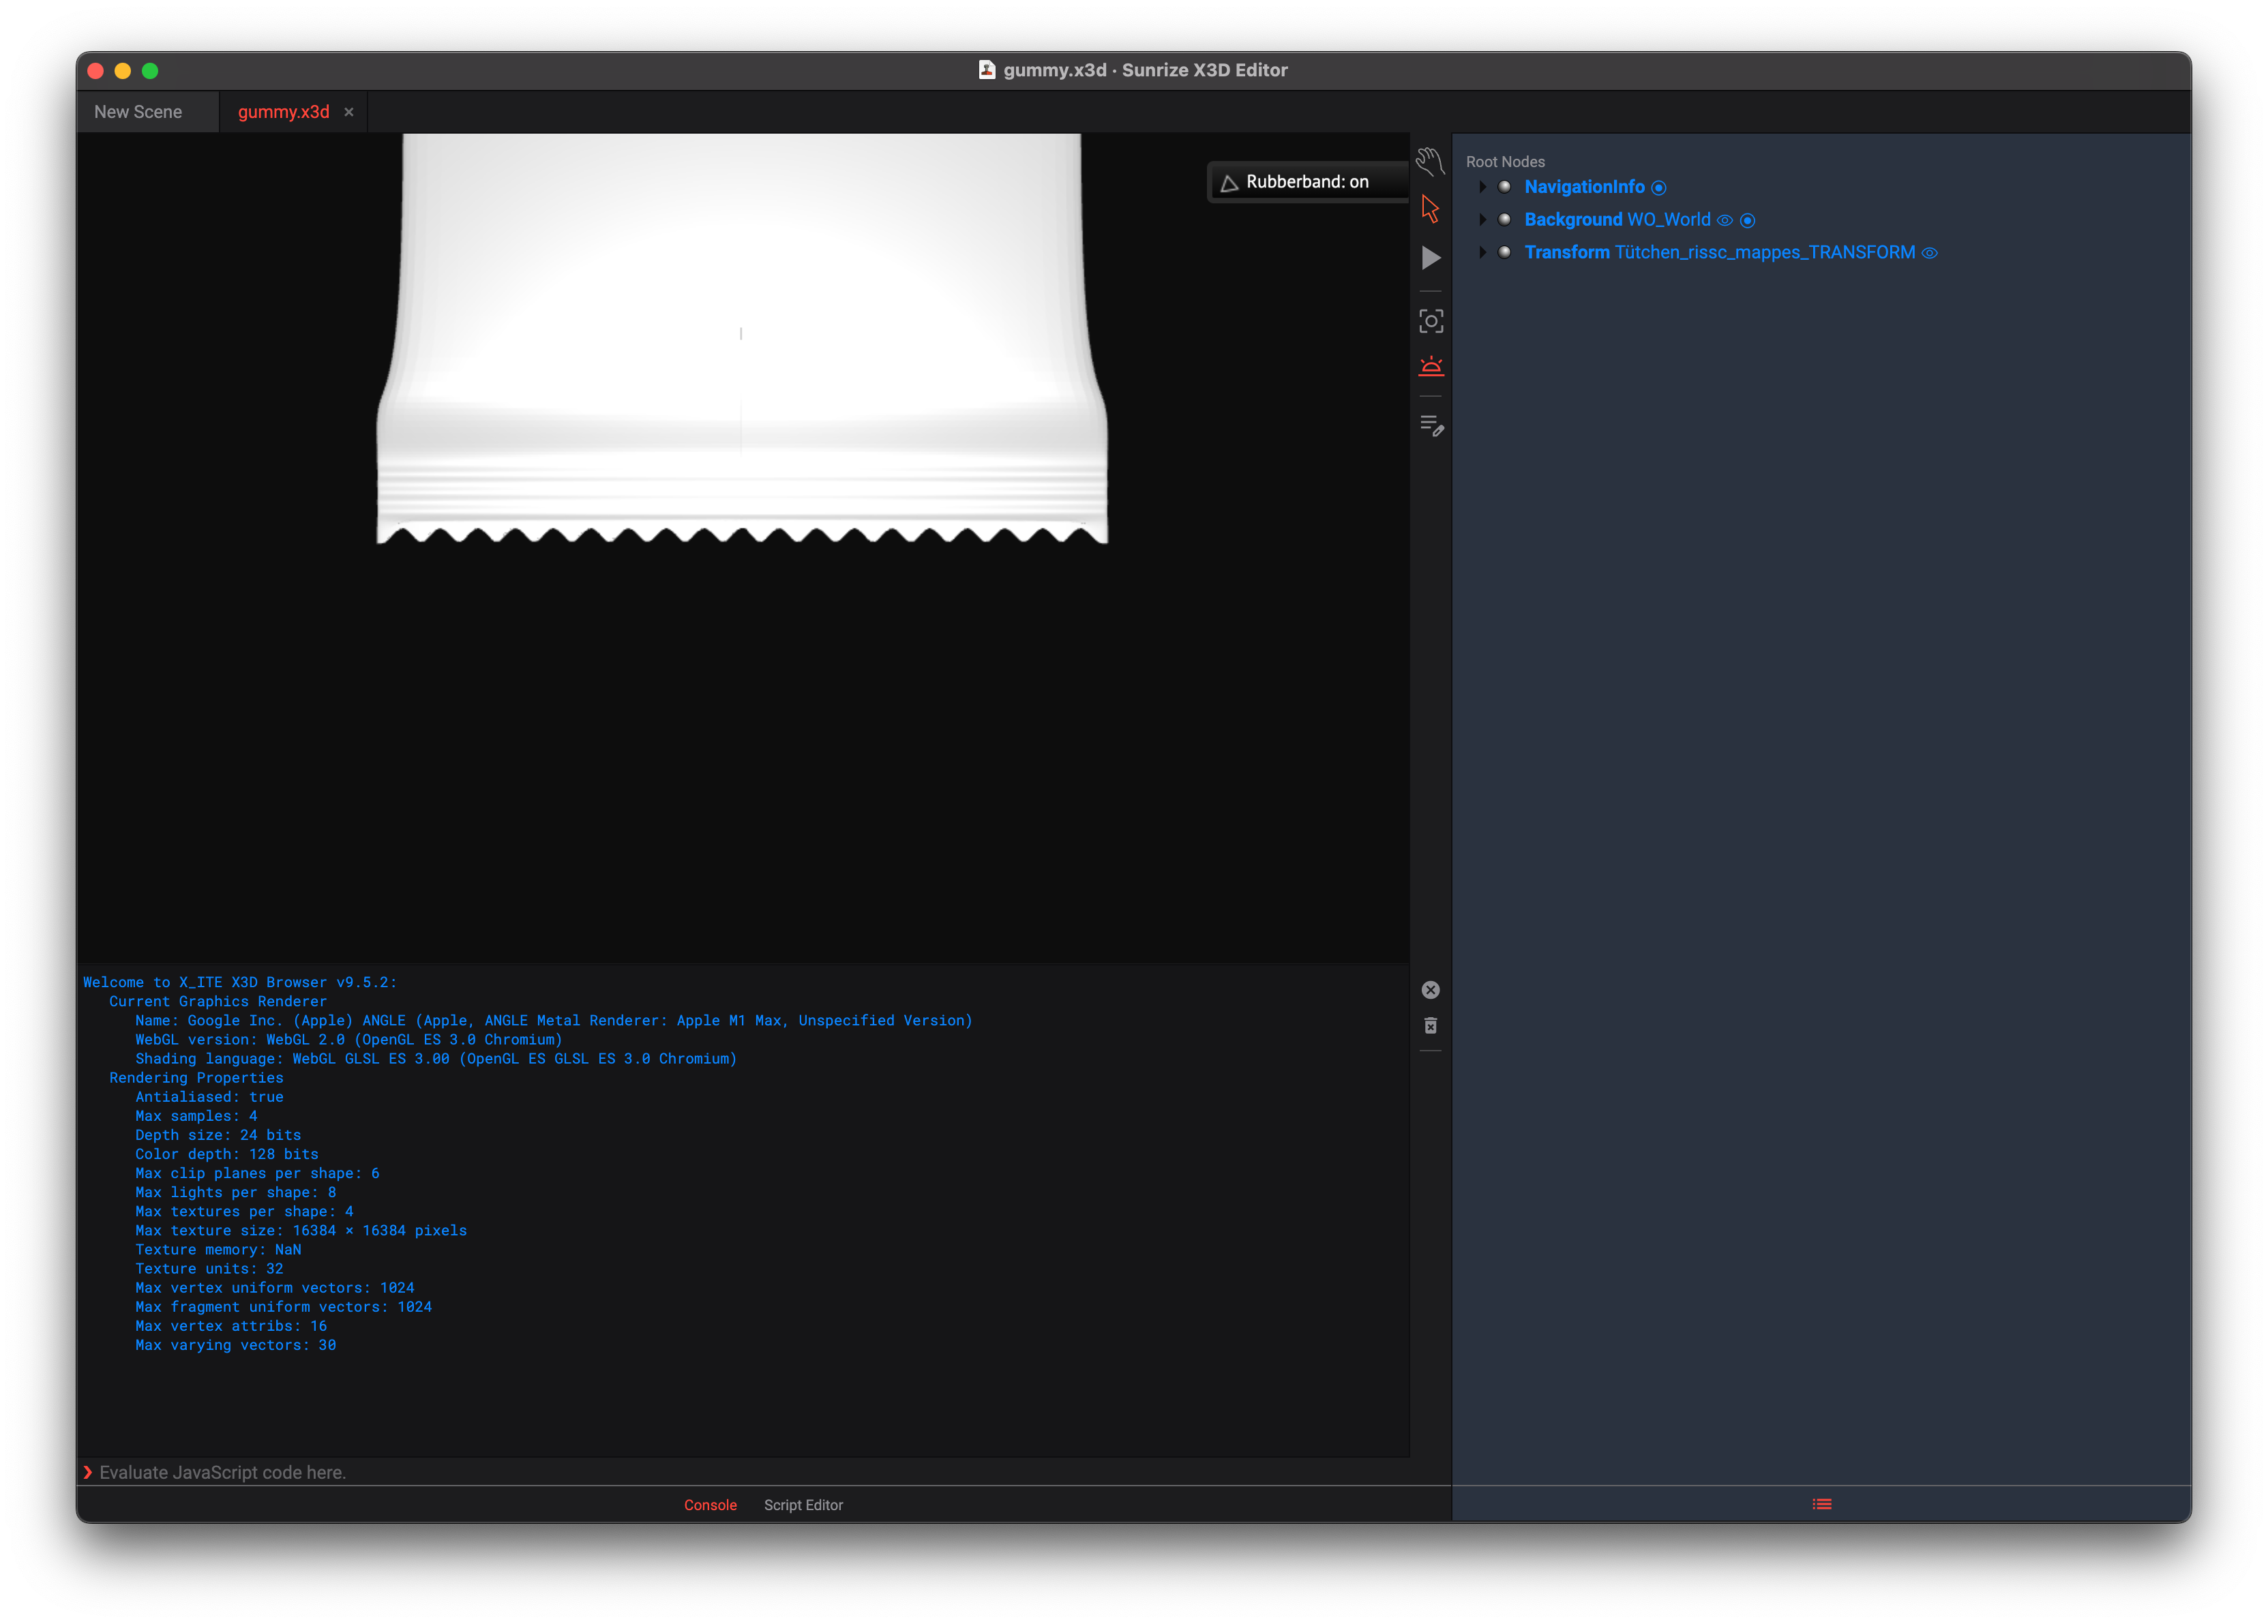
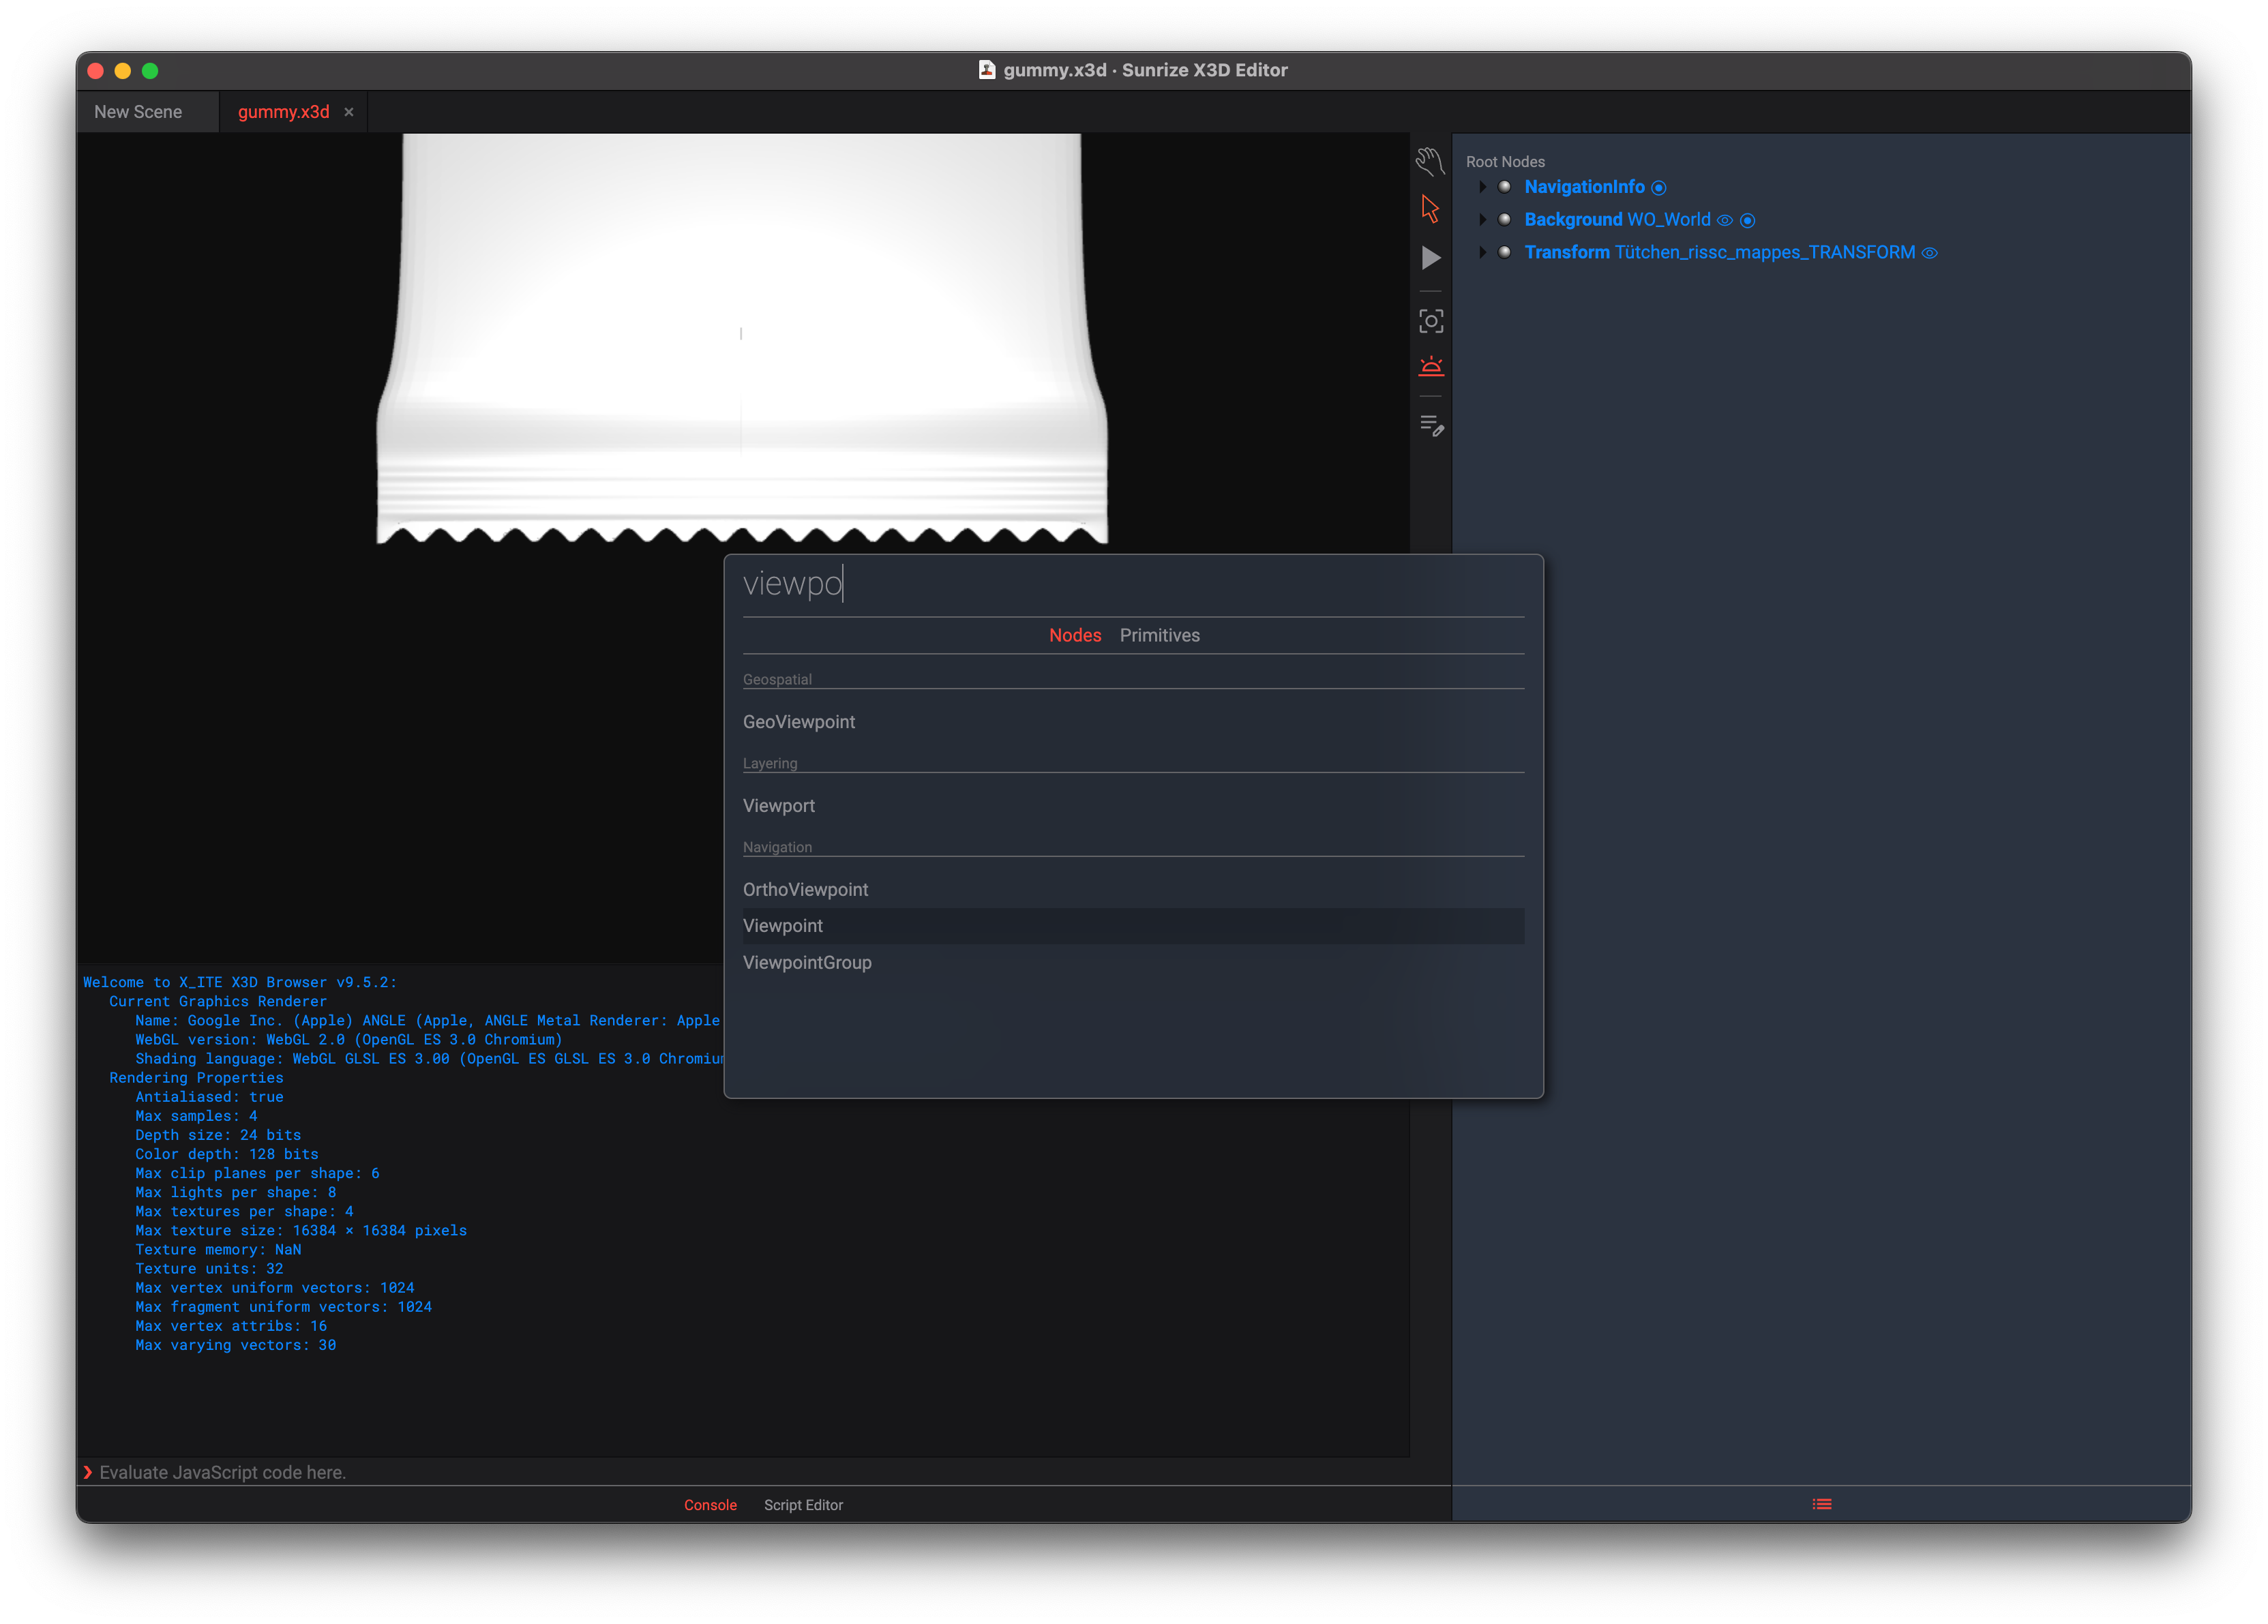
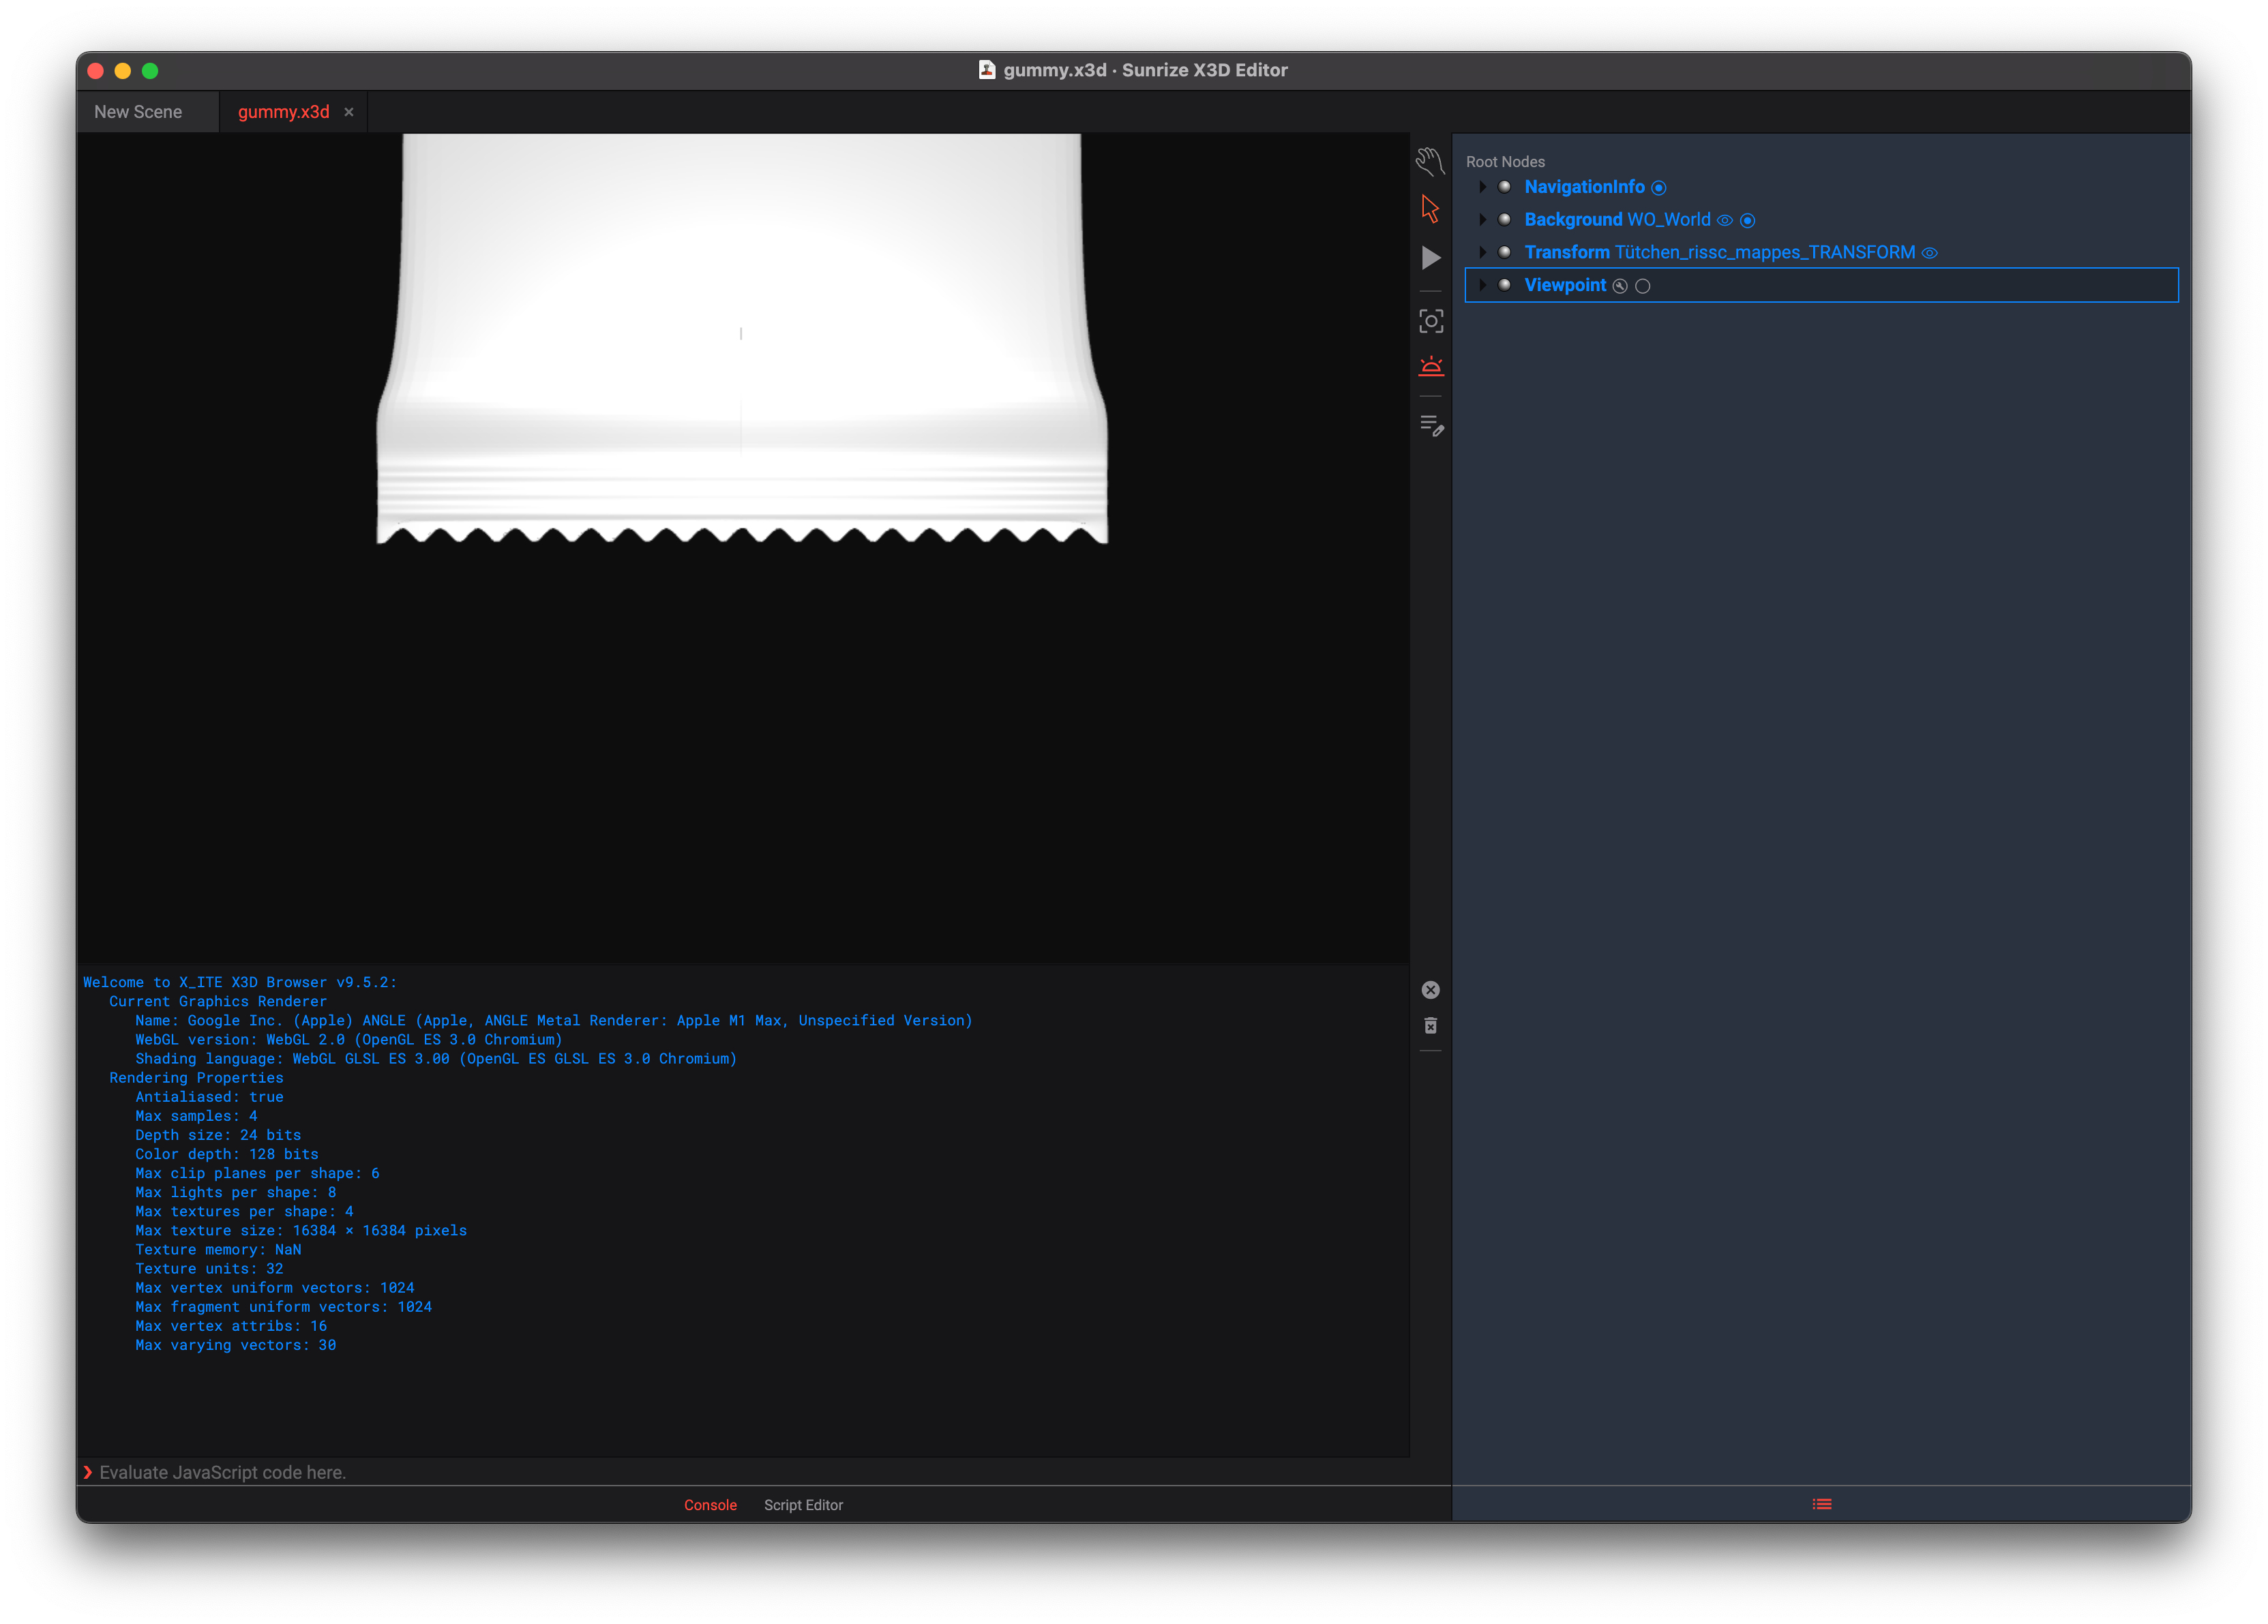
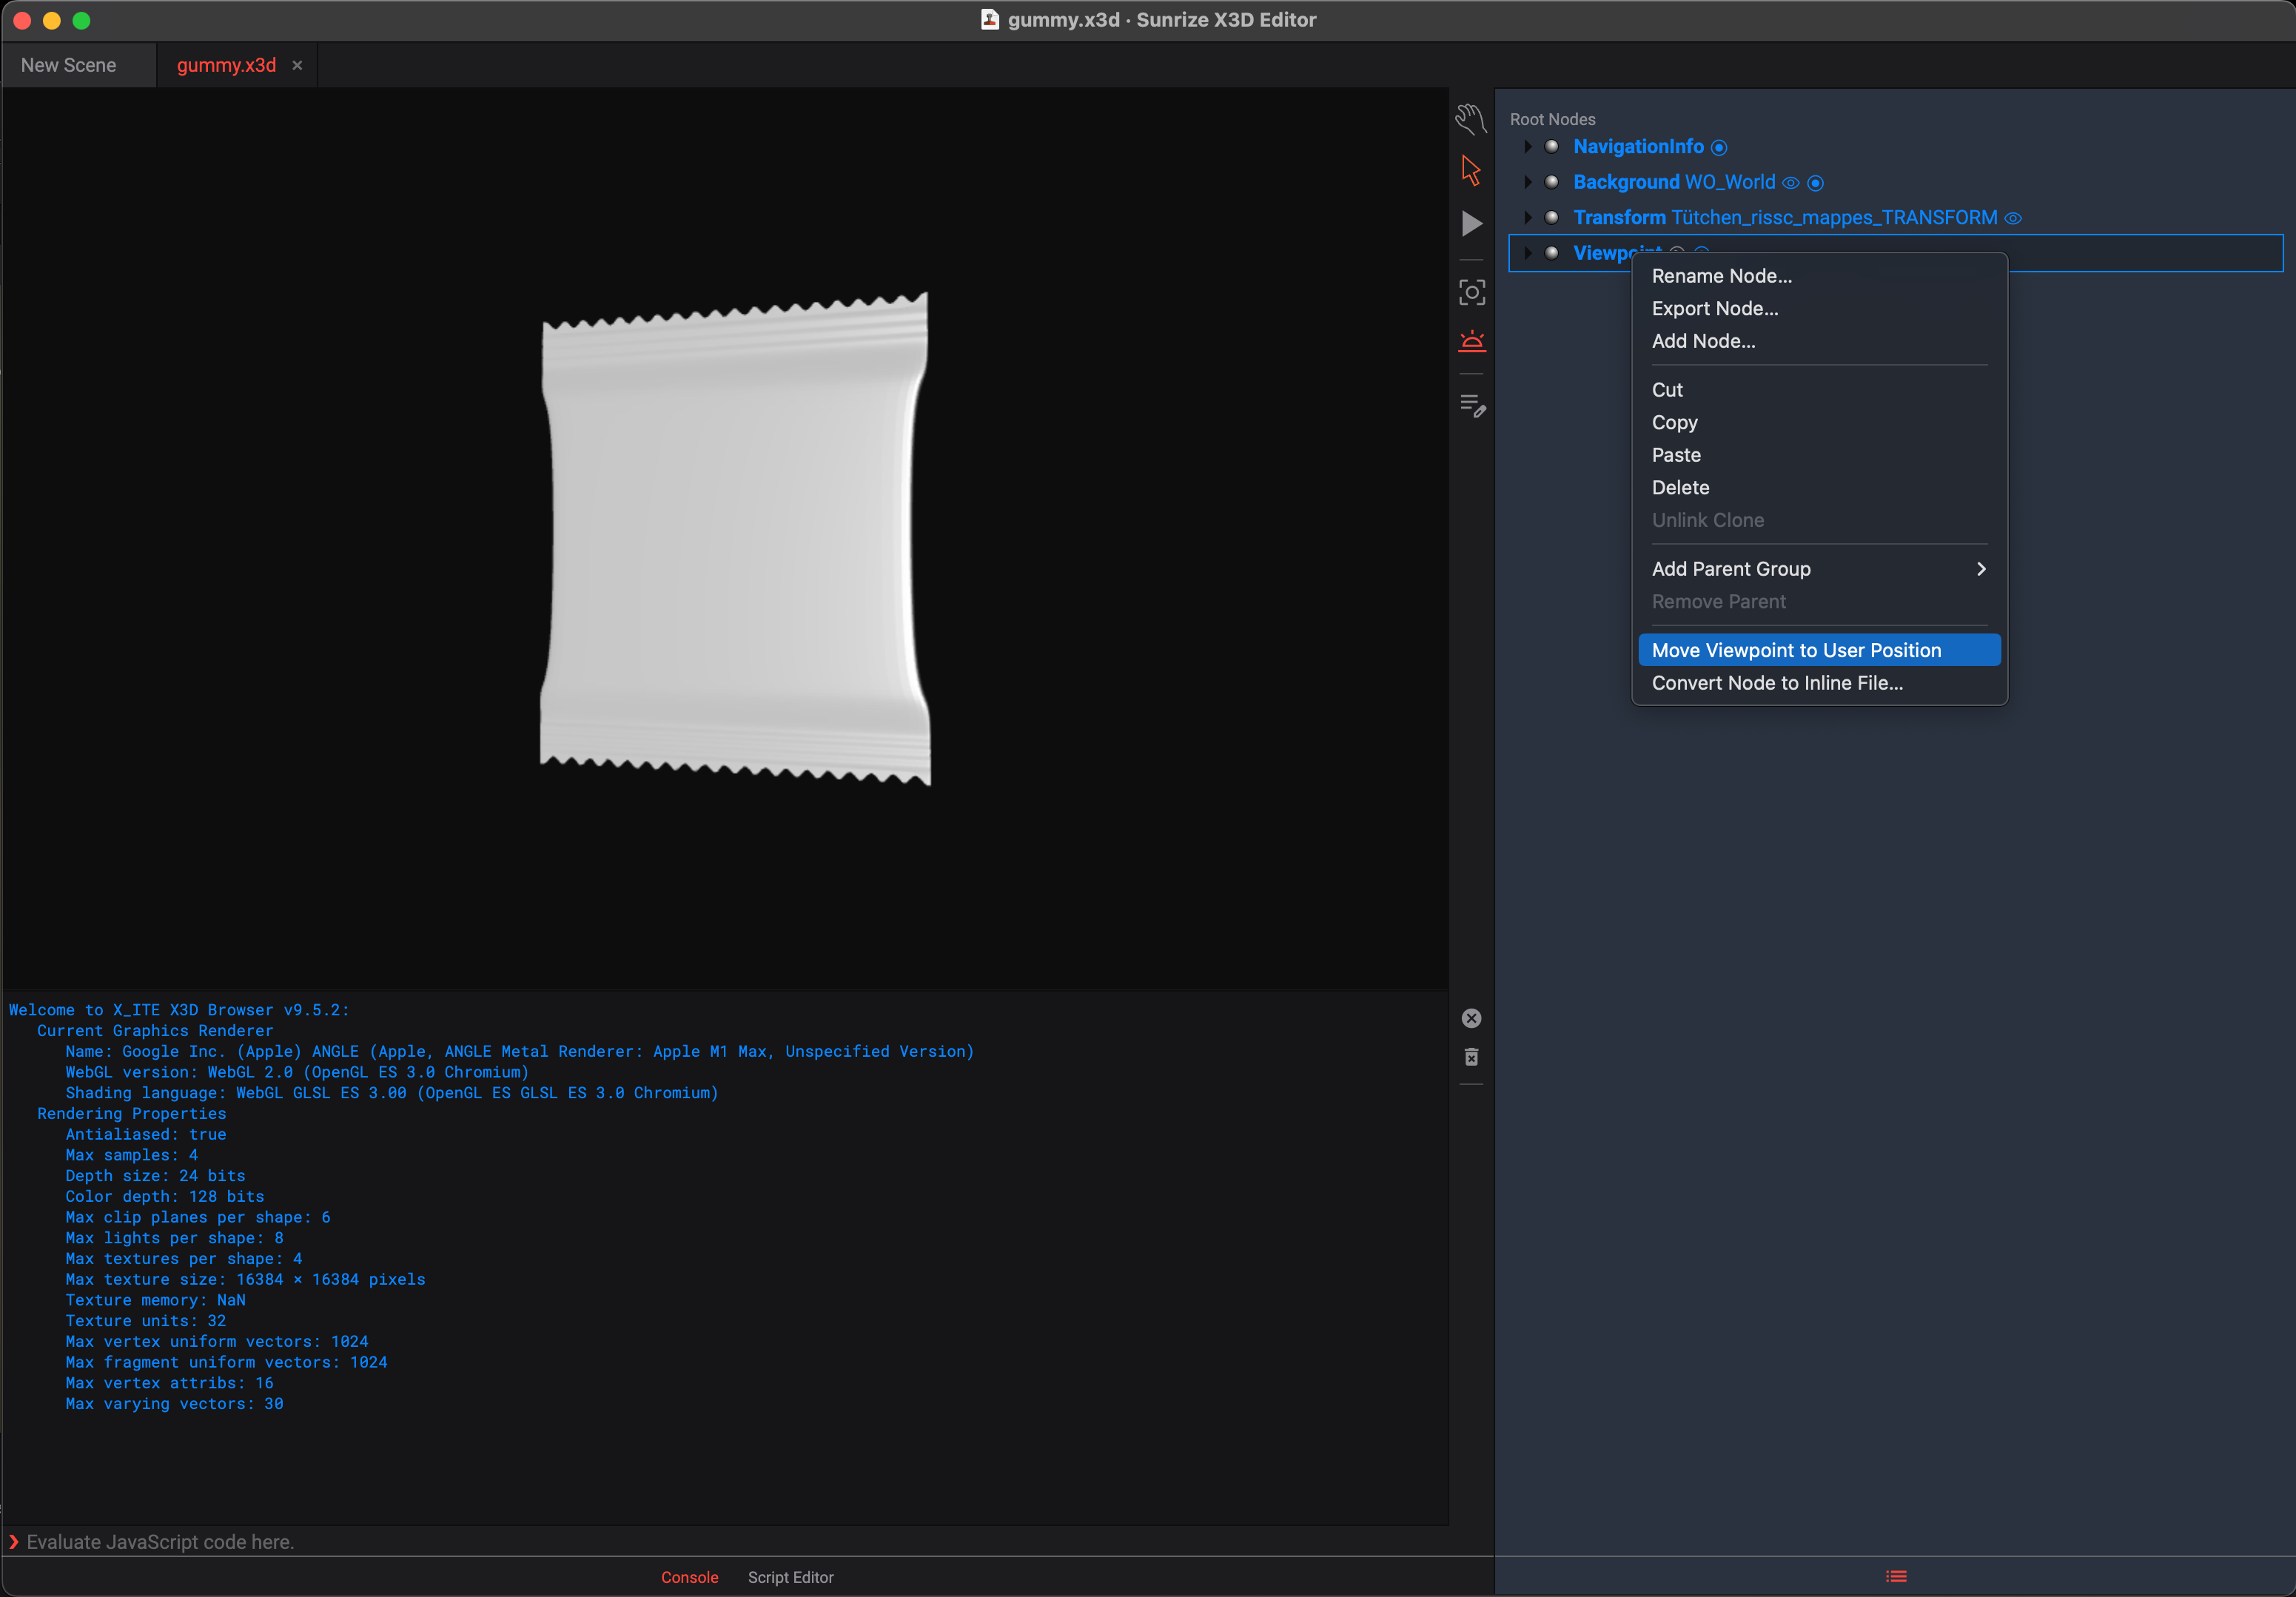
Add a
viewpointand set the viewpoint. To do this, place the model in the visible area (the easiest way to do this is to double-click in the centre of the model). Then right-click to explain the position of theviewpoint.
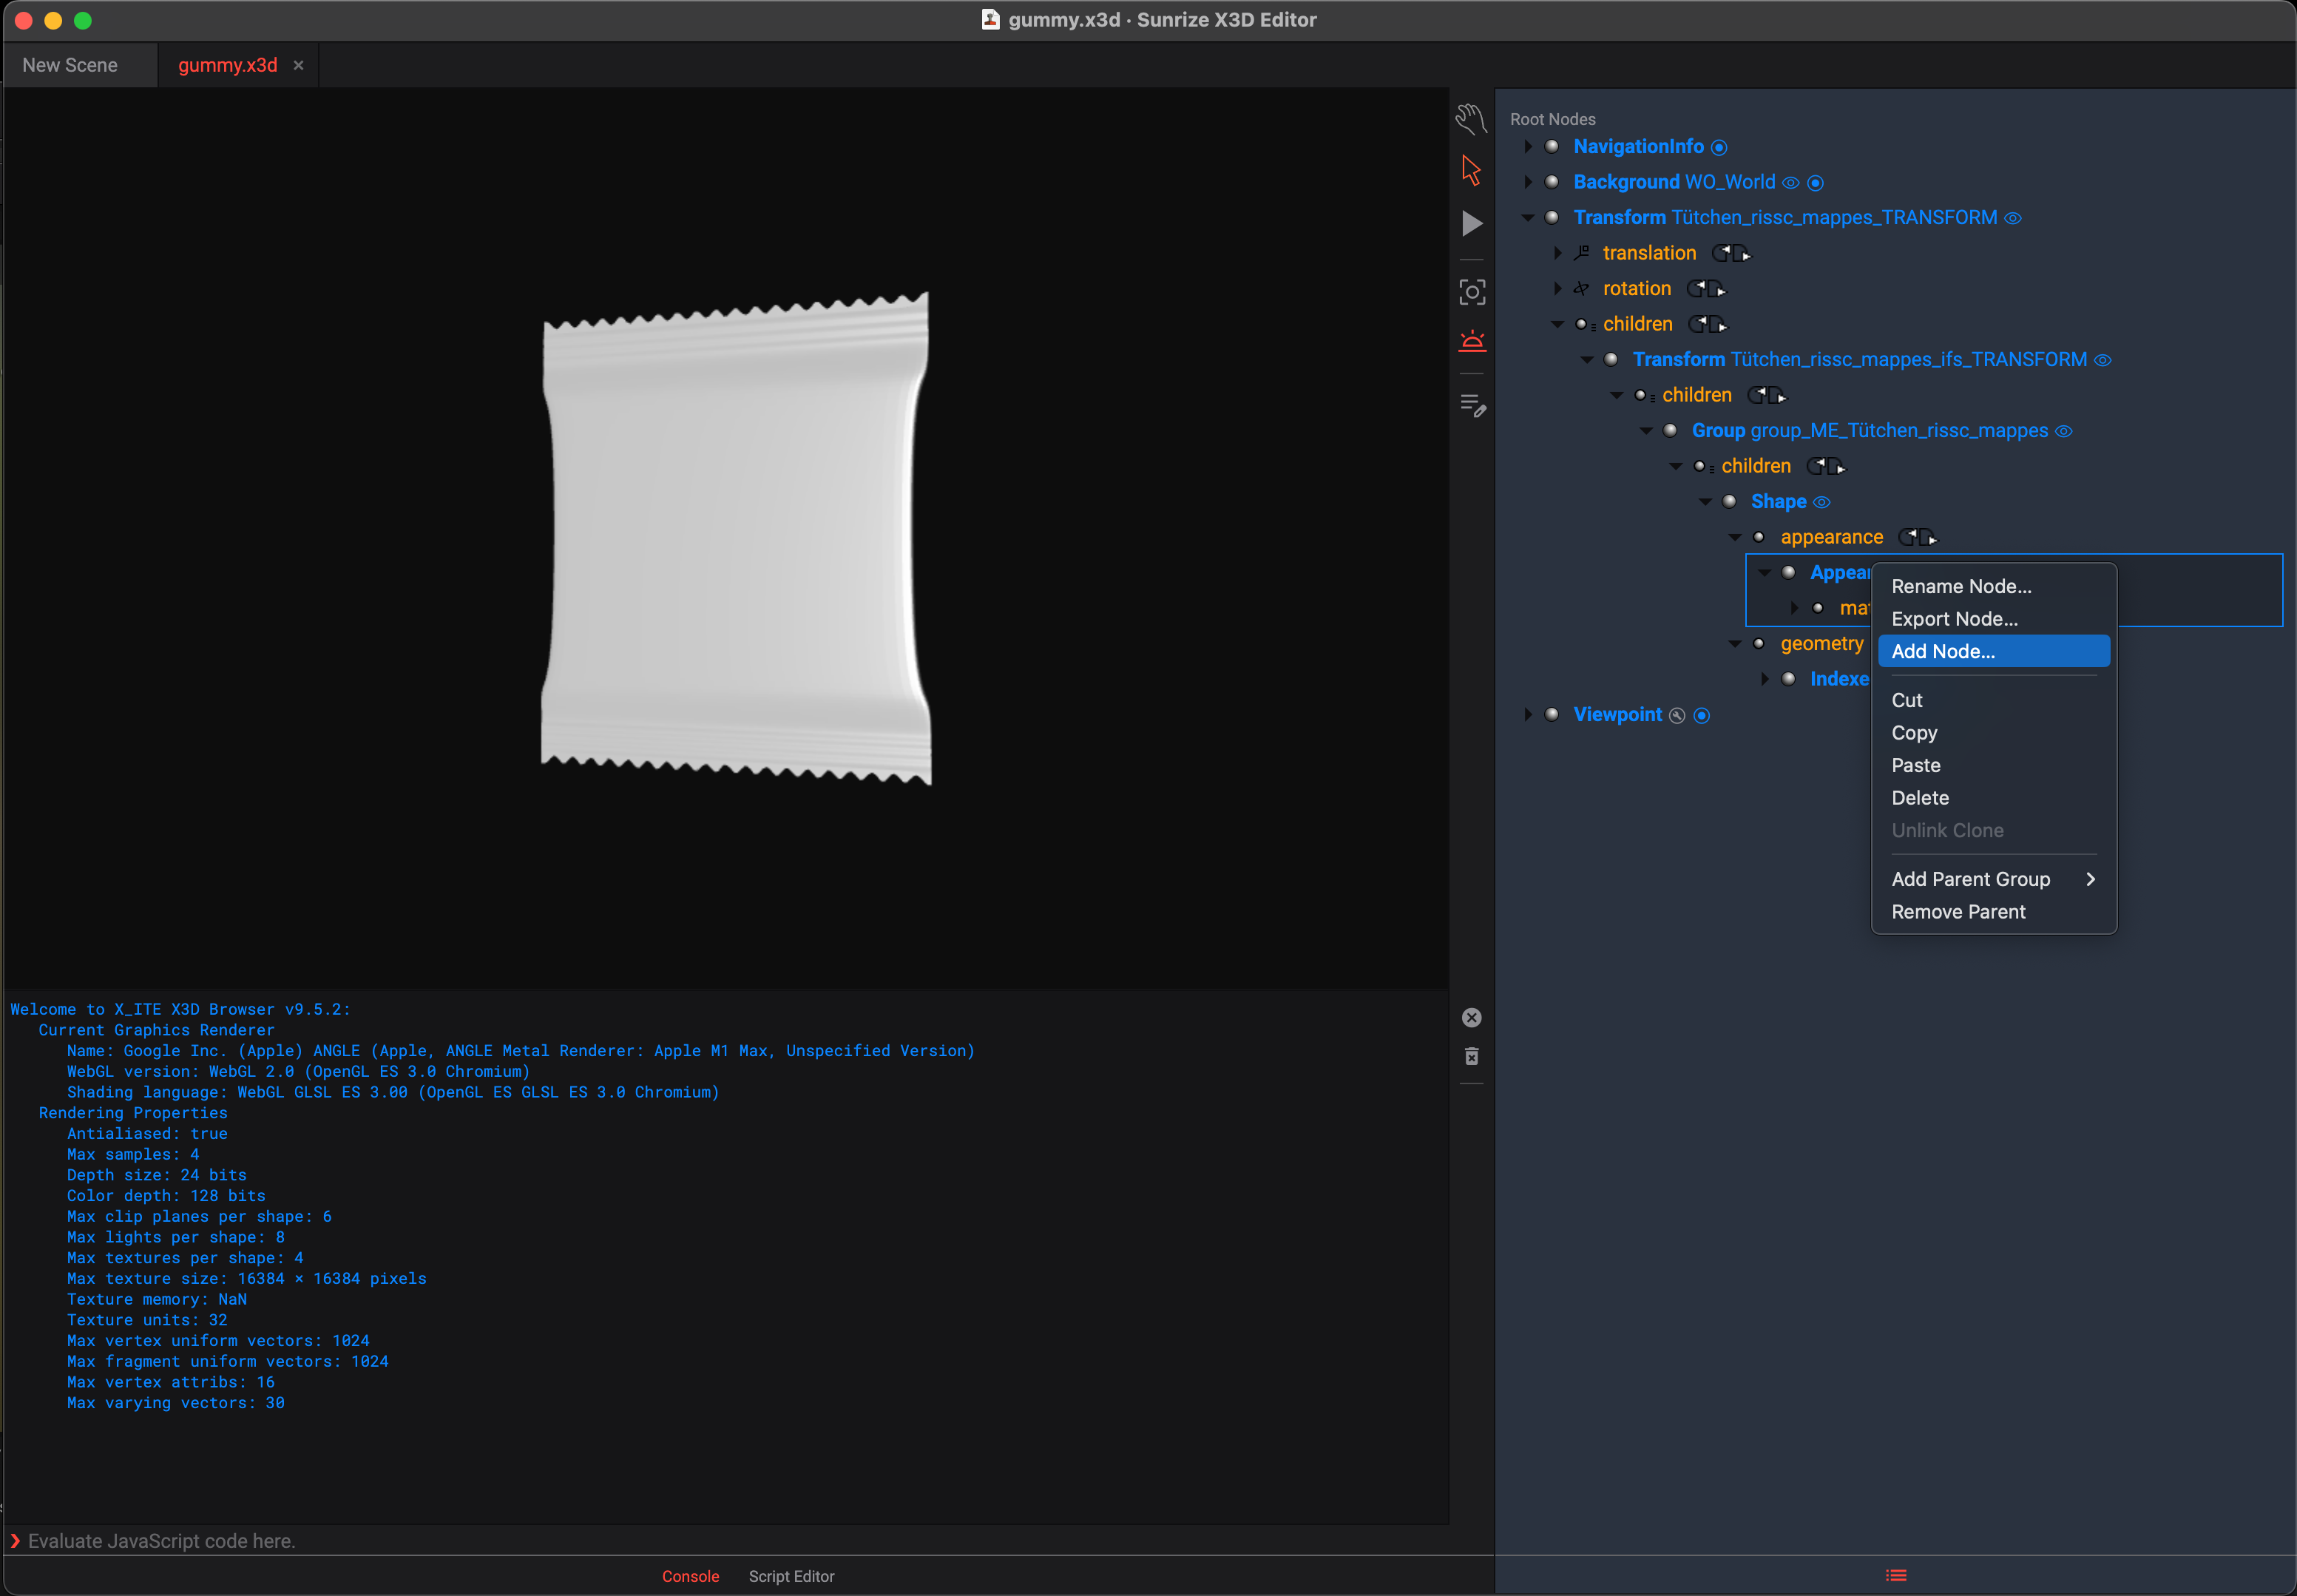
Step 6: Customise the material and add an empty ImageTexture
Rename the material to
OUTMAT1. For multi-page templates, the integer corresponds to the page in the template. You can also set multiple materials to display all pages in the editor.
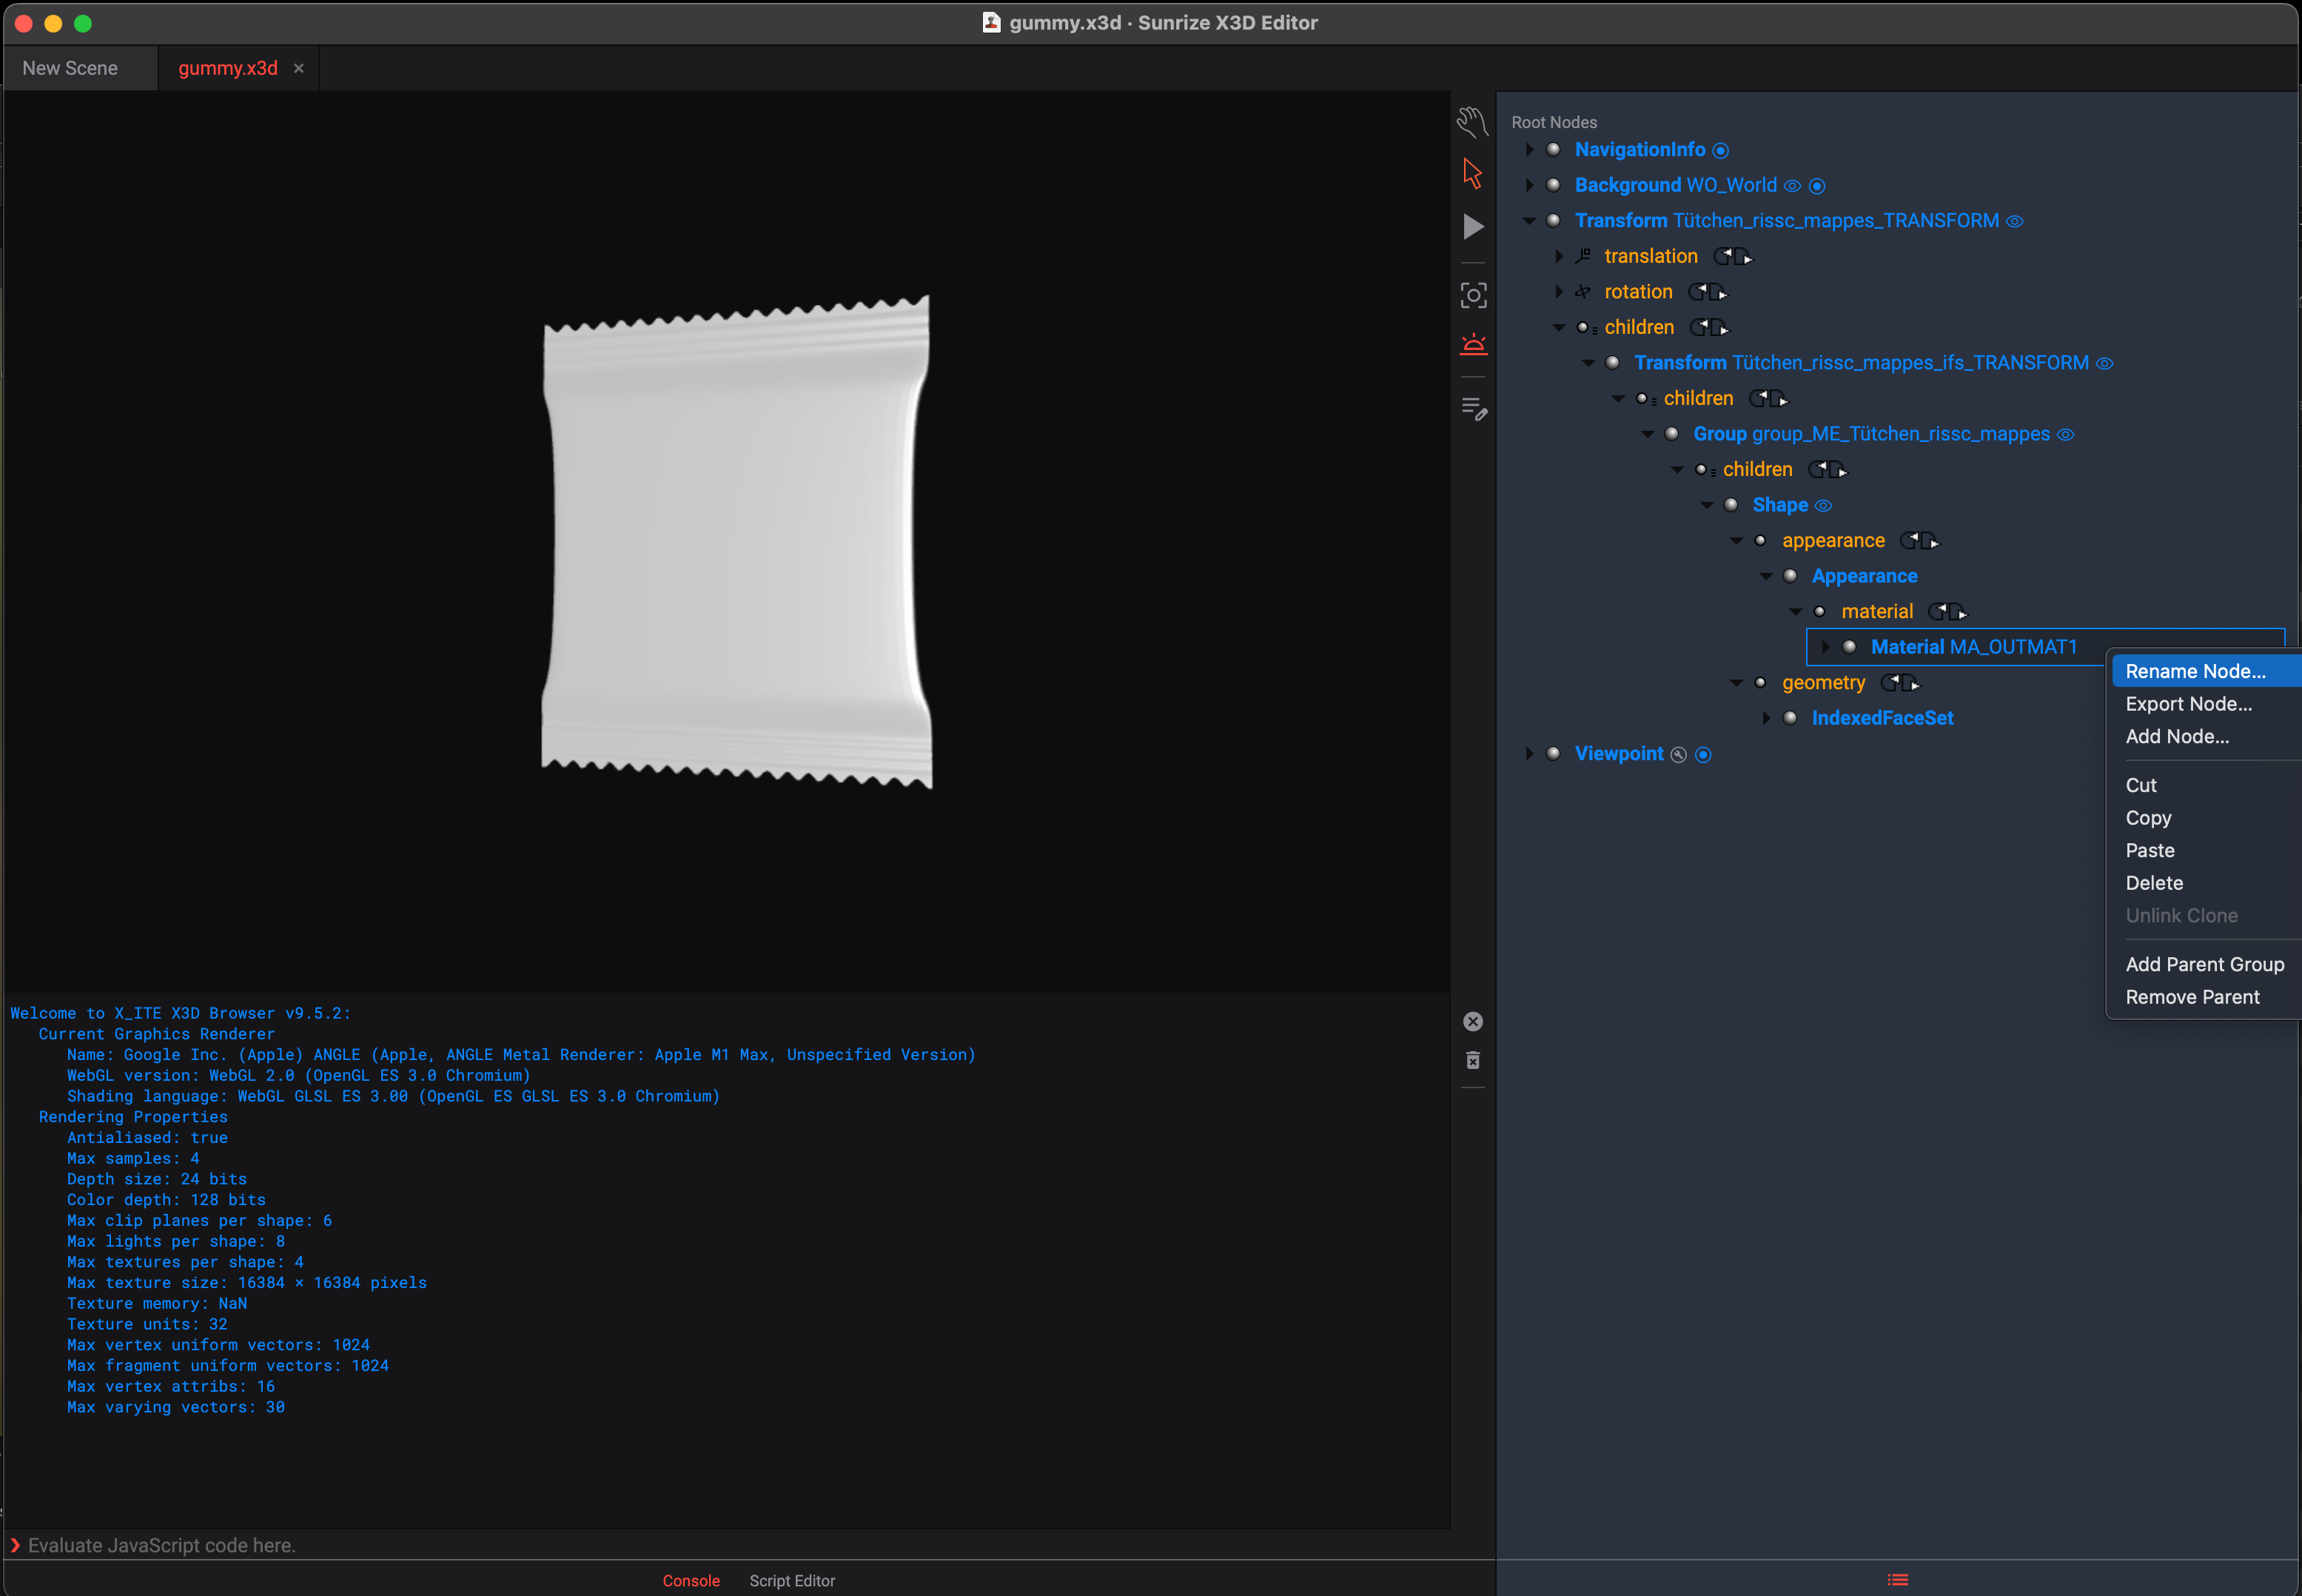

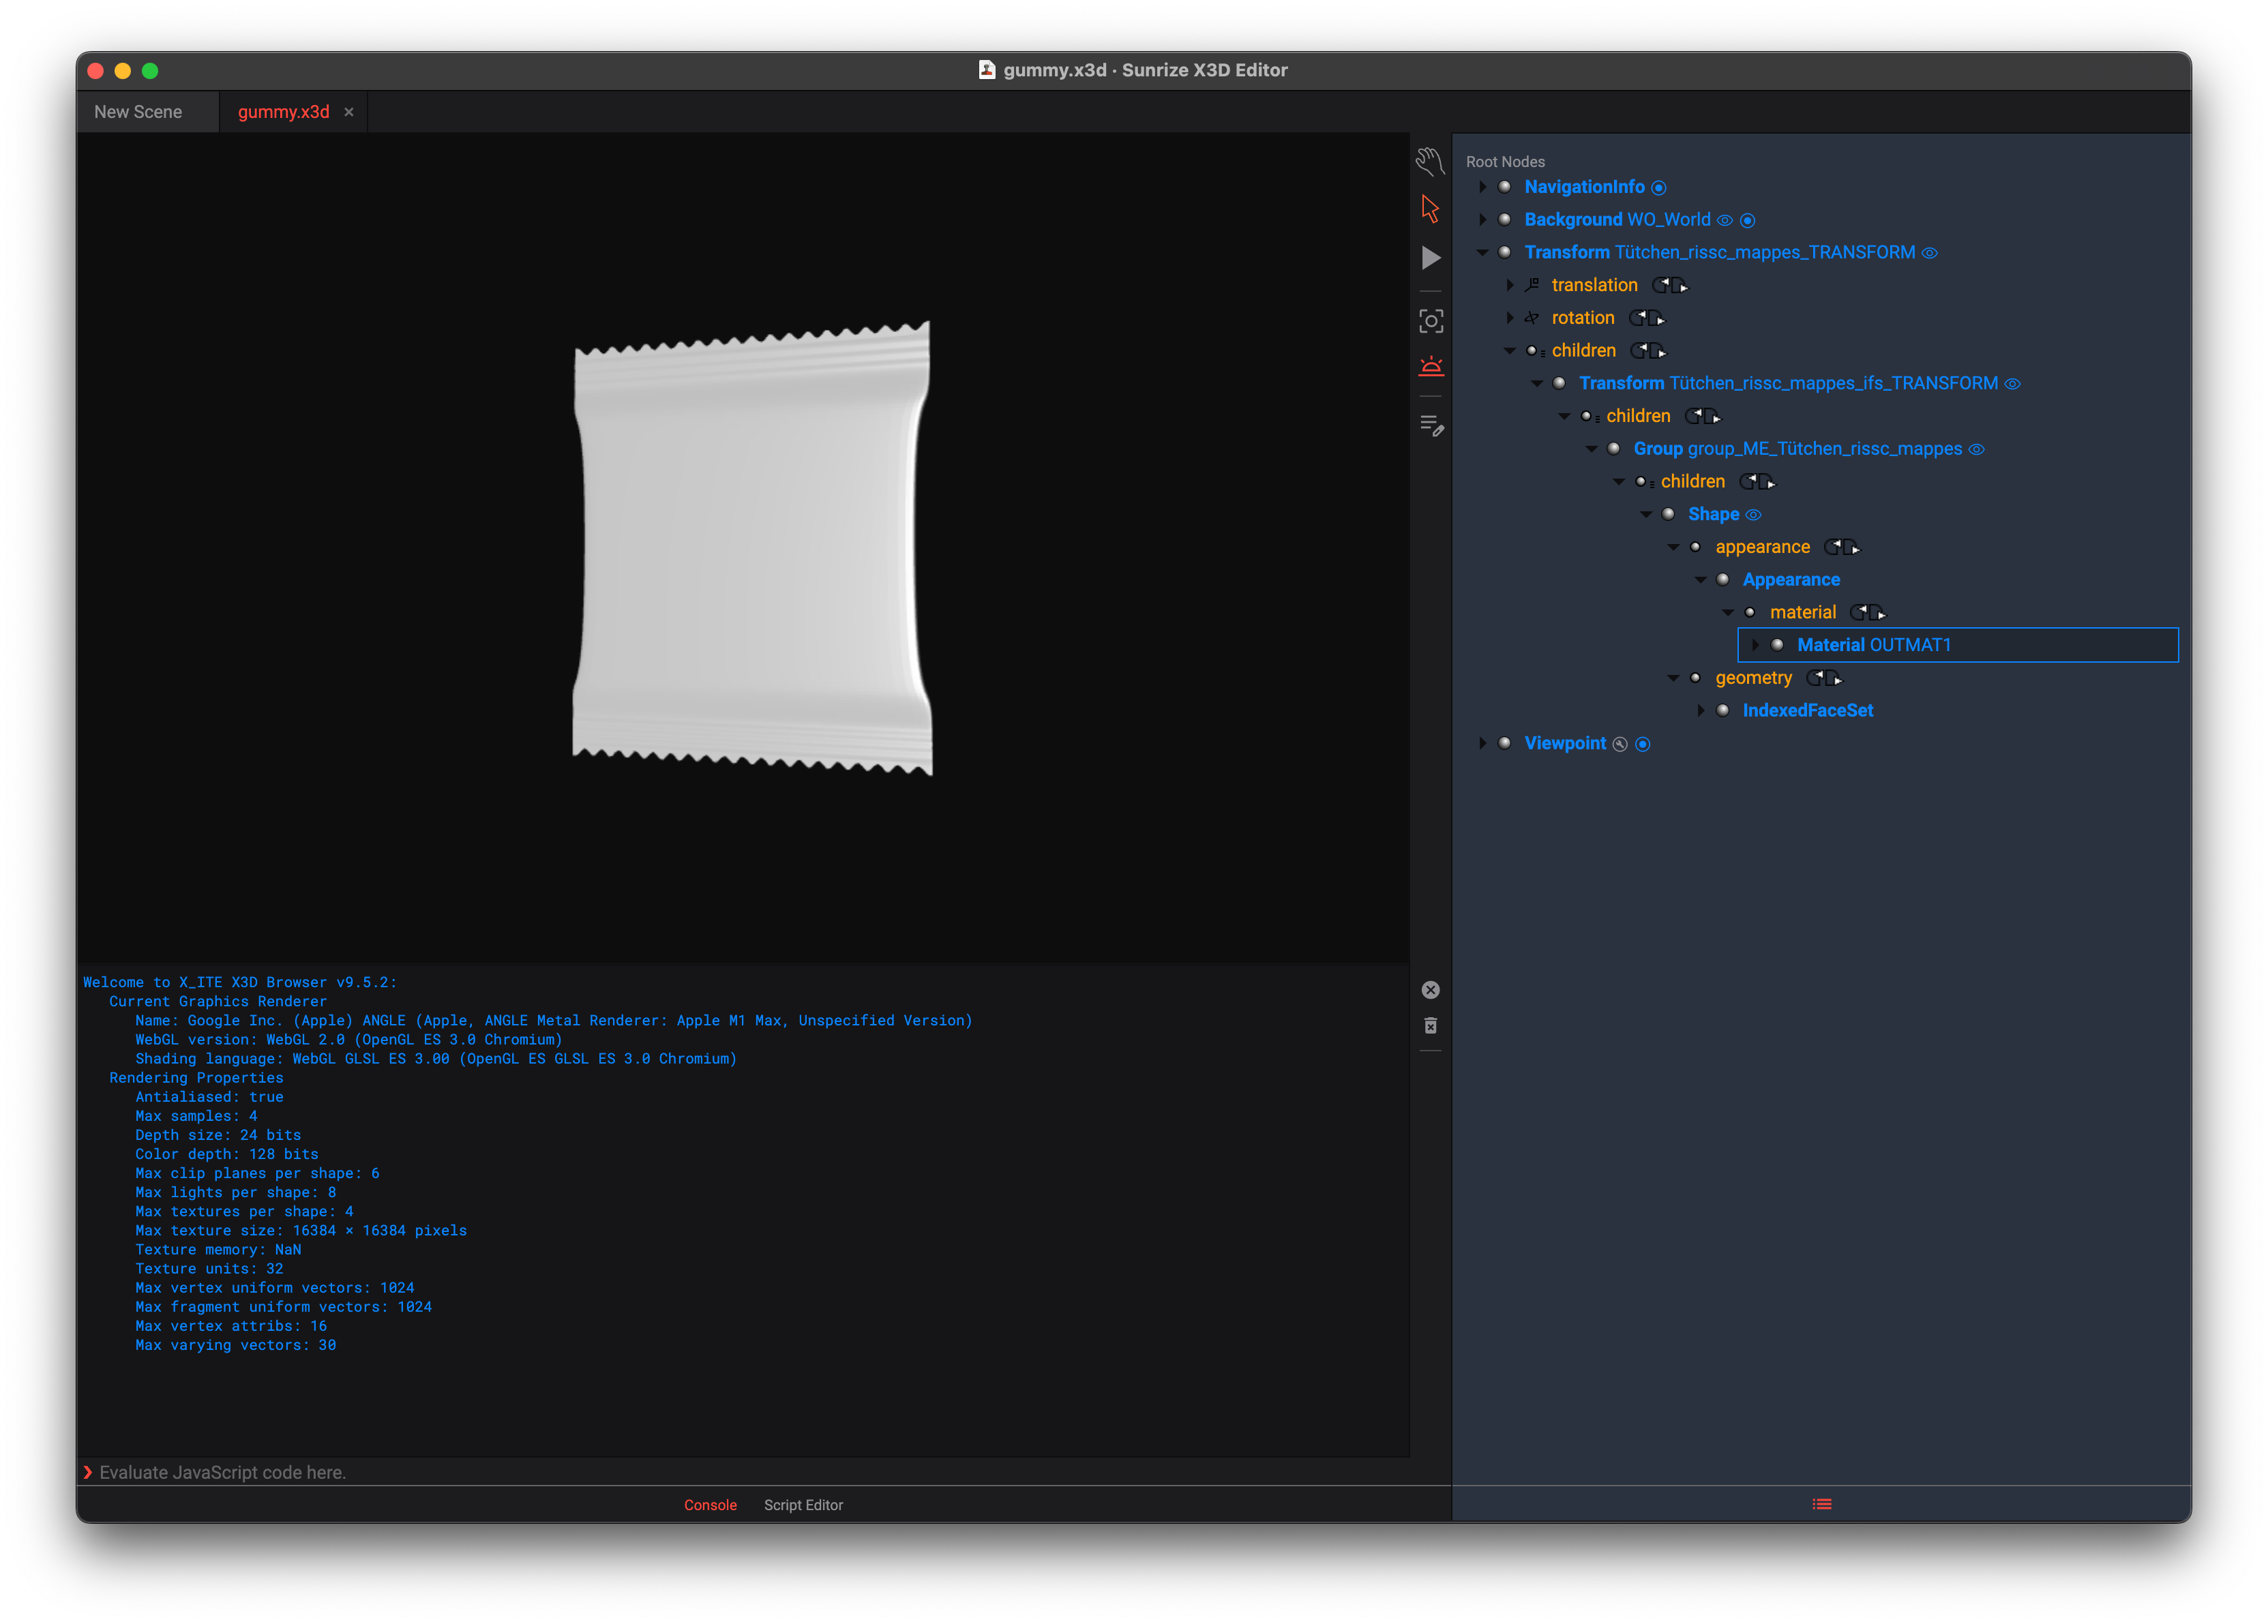
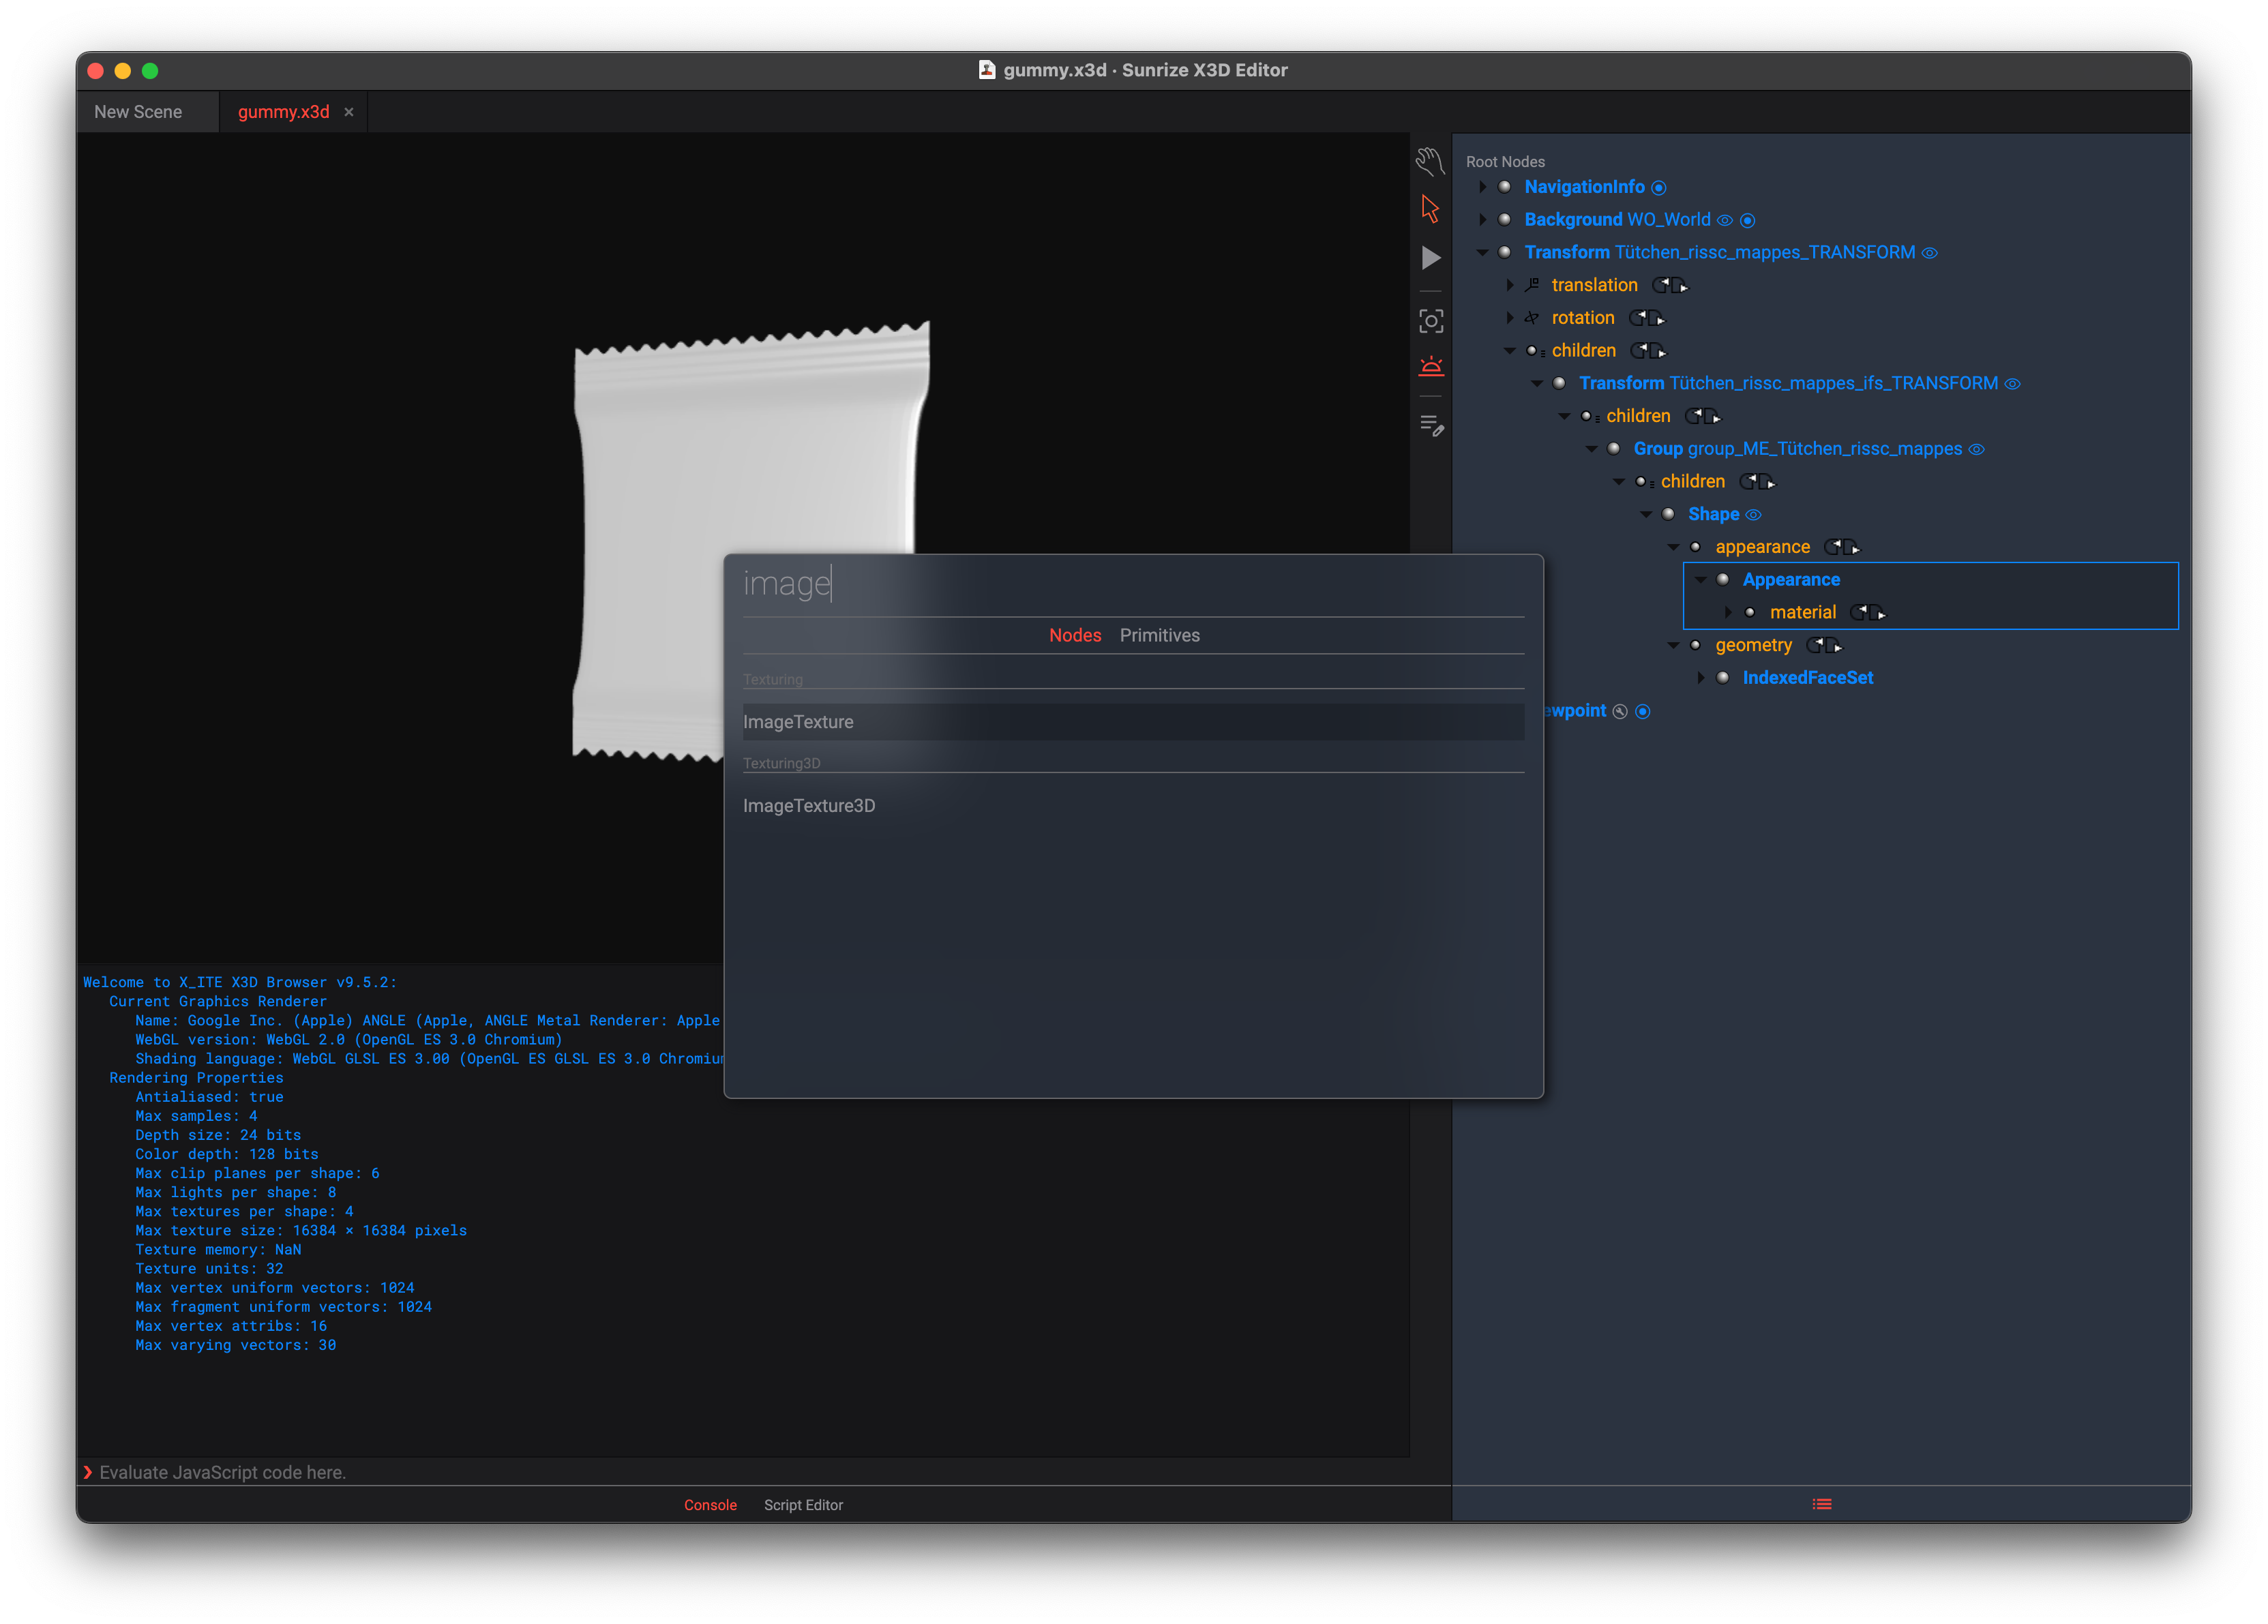
Add an empty
ImageTextureto theAppearance. This is required so that the editor display can be visualised.